
官方动态
旧笔记本变身私有 AI 服务器:Daiying CMS + Ollama 完整实战教程
介绍如何用旧笔记本、Ollama 与 Daiying CMS 组合搭建私有 AI 服务环境,并完成后台 AI Provider 连接测试。
Daiying CMS + Ubuntu Server + RTX 3060 + Ollama + RAG + Cloudflare Tunnel 完整实战教程
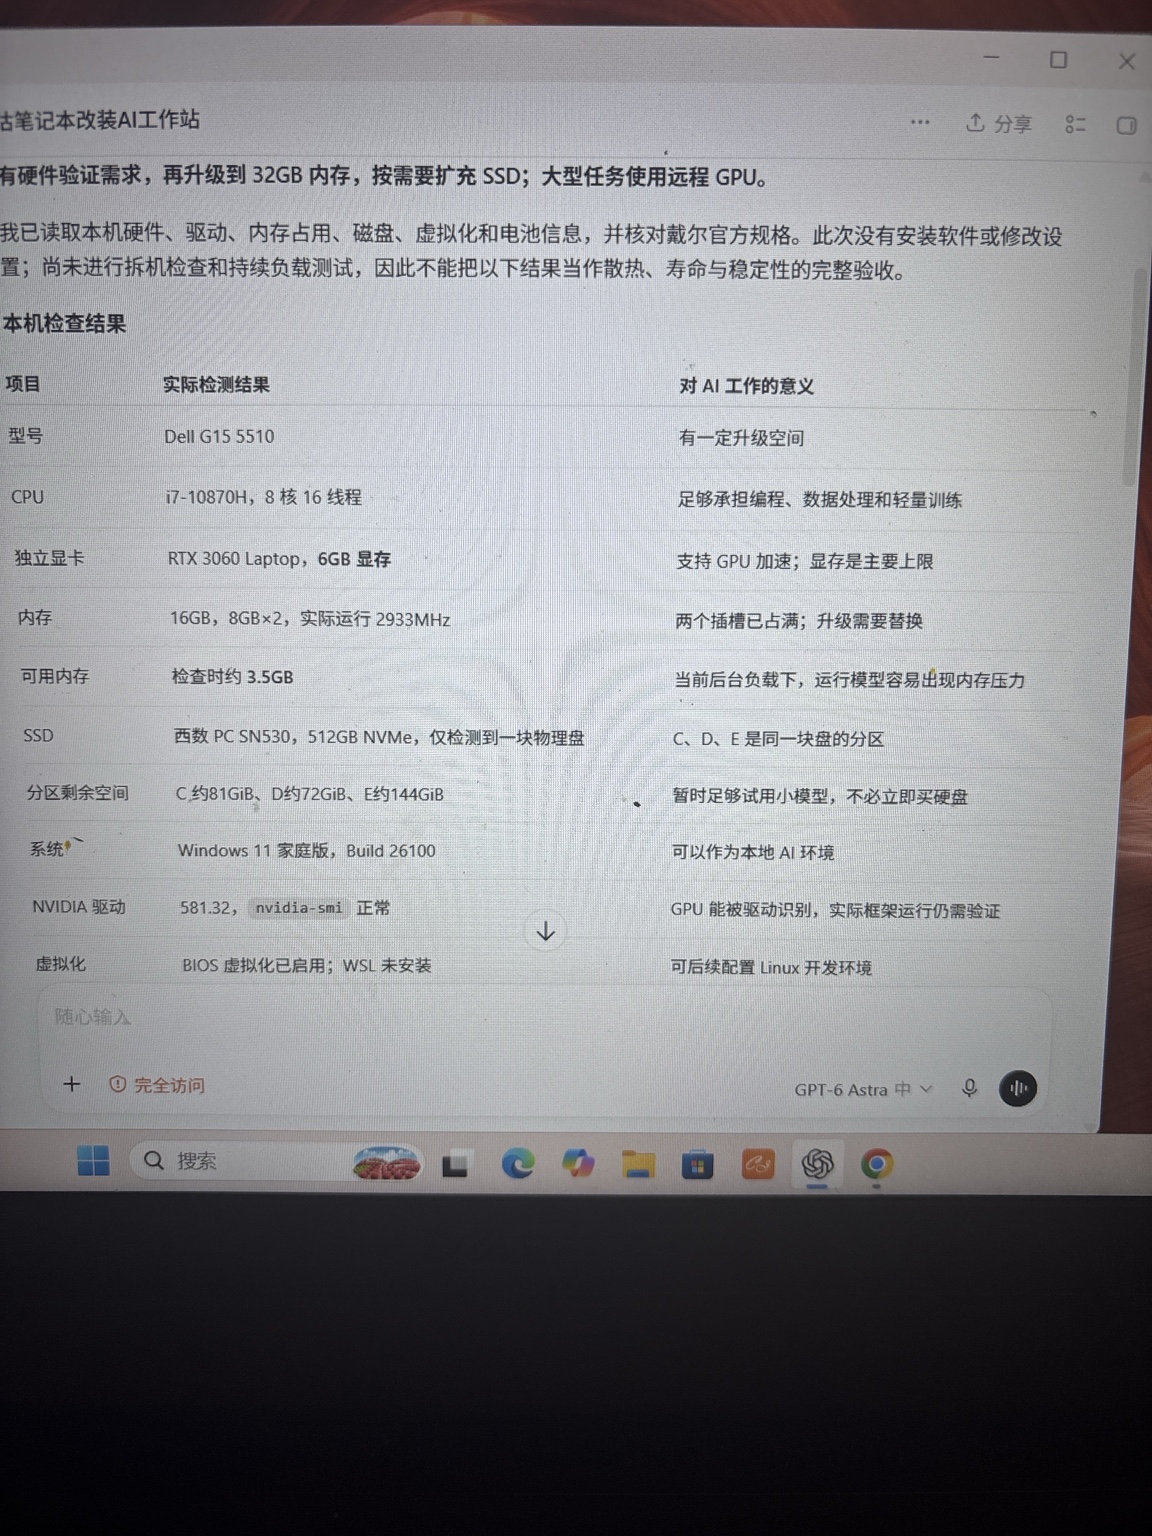
真实环境:Dell G15 5510 / i7-10870H / 16GB RAM / RTX 3060 Laptop 6GB / 512GB NVMe
最终结果:公网 Daiying CMS 测试站成功通过安全网关调用家中 RTX 3060 本地模型
1. 最终实现效果
最终请求链路:Daiying CMS 测试实例 → HTTPS → Cloudflare Tunnel → Secure Gateway → Daiying CMS Knowledge Base API → Ollama → qwen2.5:7b → RTX 3060。
2. 硬件检查
实测 Dell G15 5510:i7-10870H(8核16线程)、16GB RAM、RTX 3060 Laptop 6GB、512GB NVMe。qwen2.5:7b 实际推理约占4.6–4.7GB显存,适合单用户或低并发 CMS AI。
3. 制作 Ubuntu Server 启动U盘
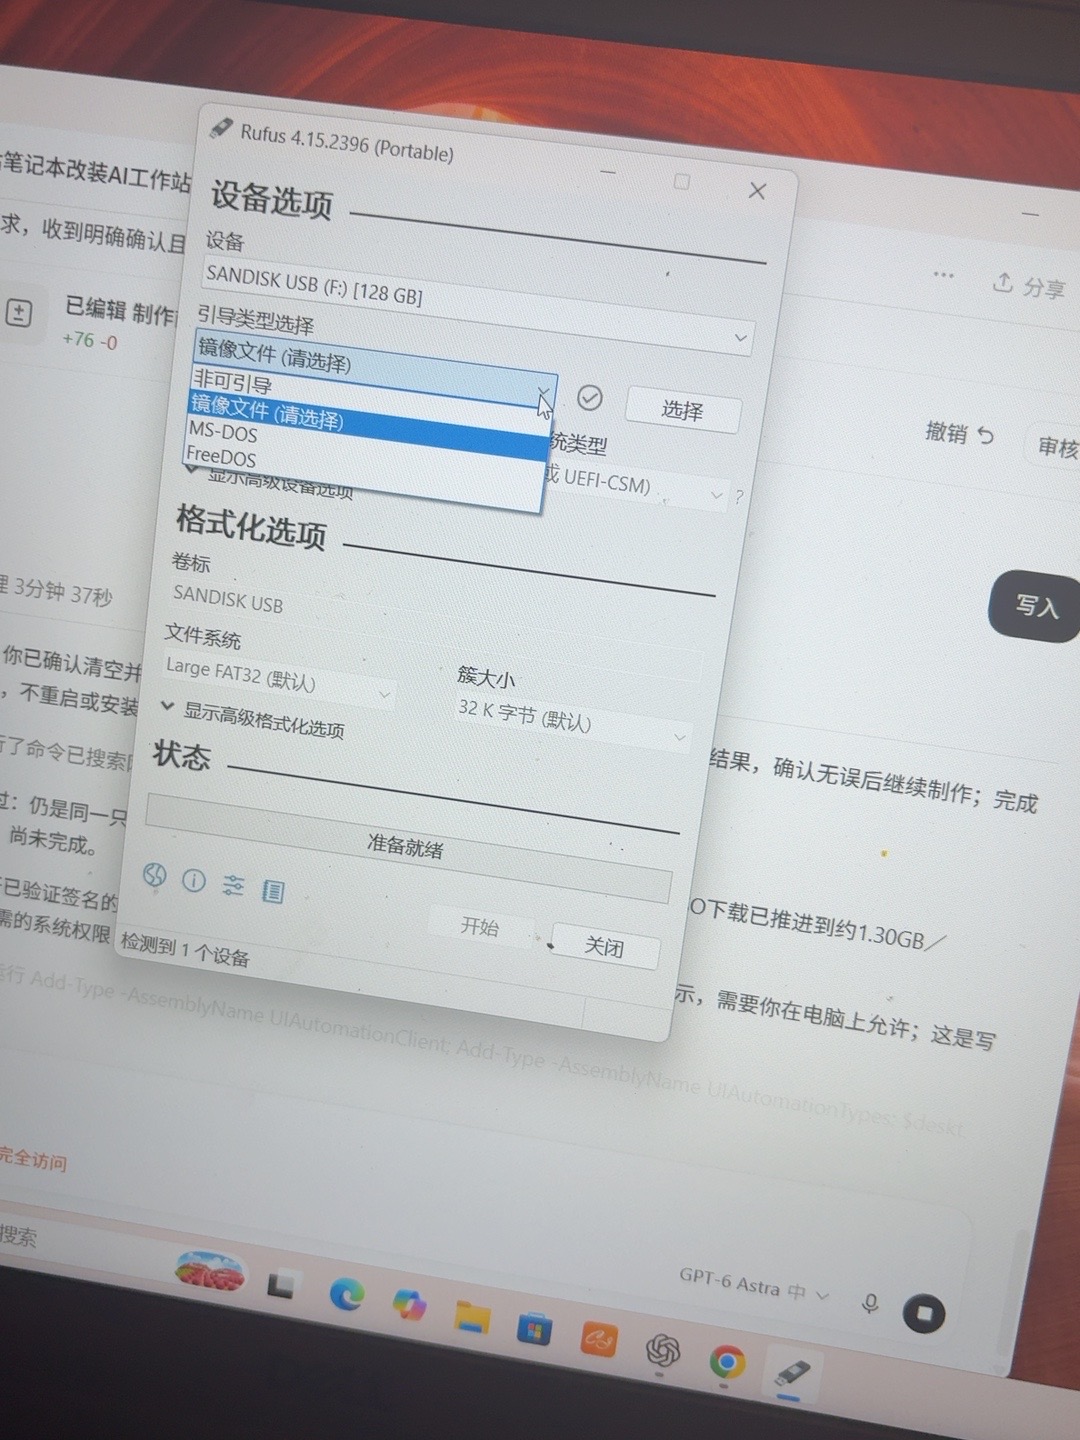
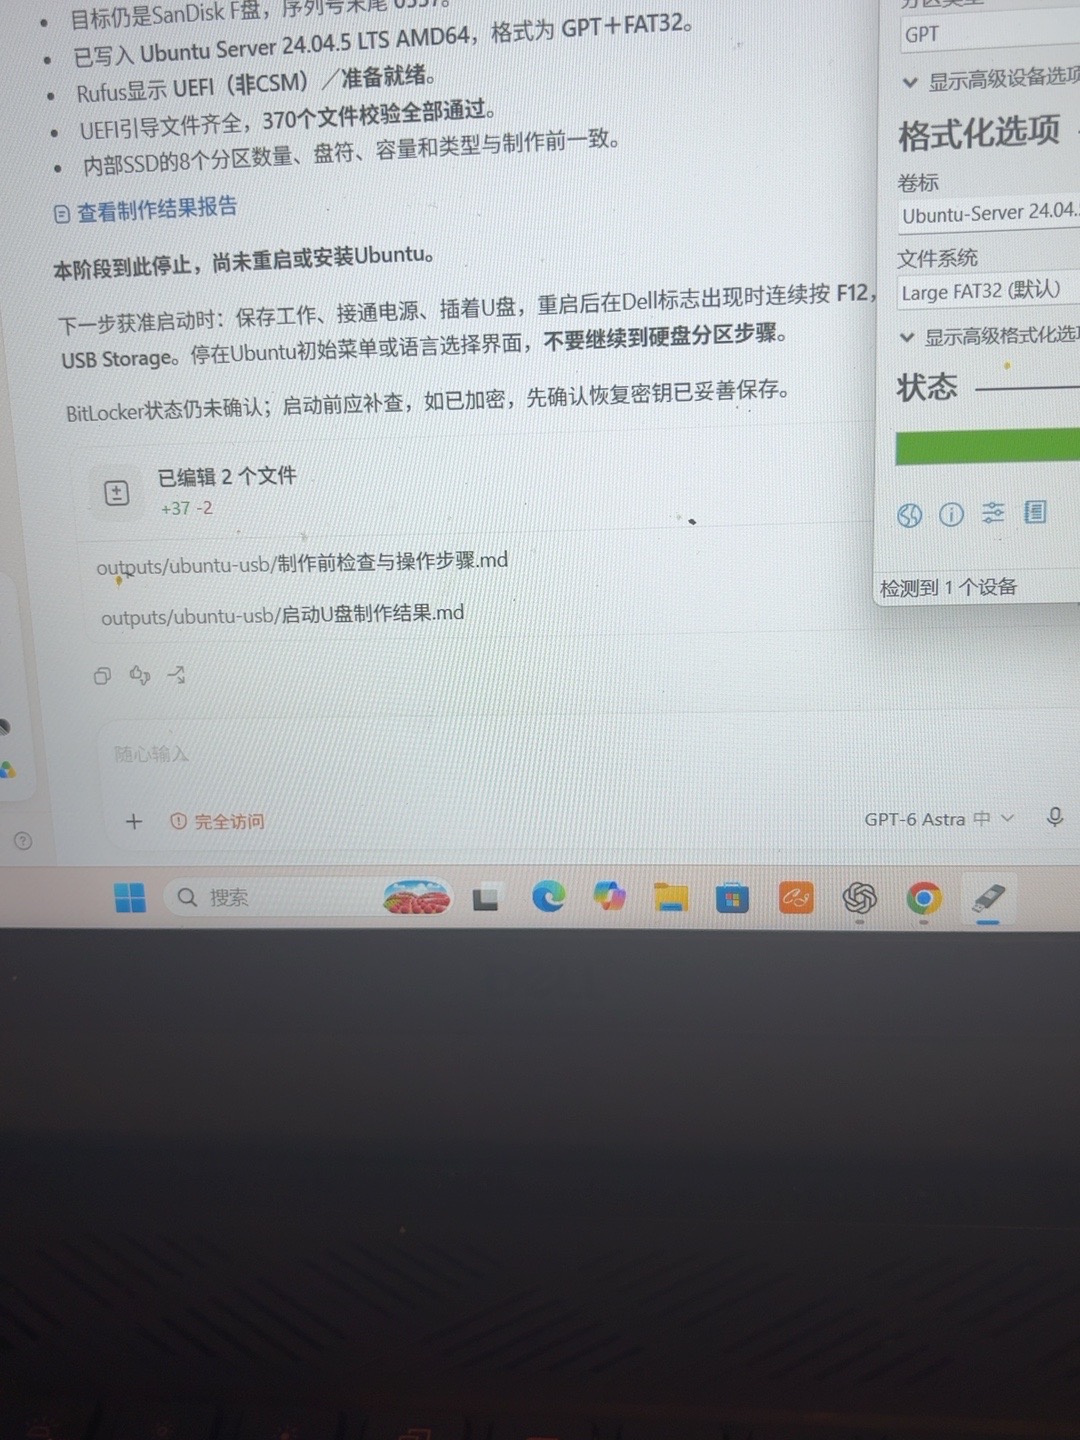
Windows 准备 SanDisk 128GB U盘,下载 Ubuntu Server 24.04.5 LTS AMD64 ISO,用 Rufus 写入。写入前务必确认目标是U盘。
4. 从U盘启动并进入安装器
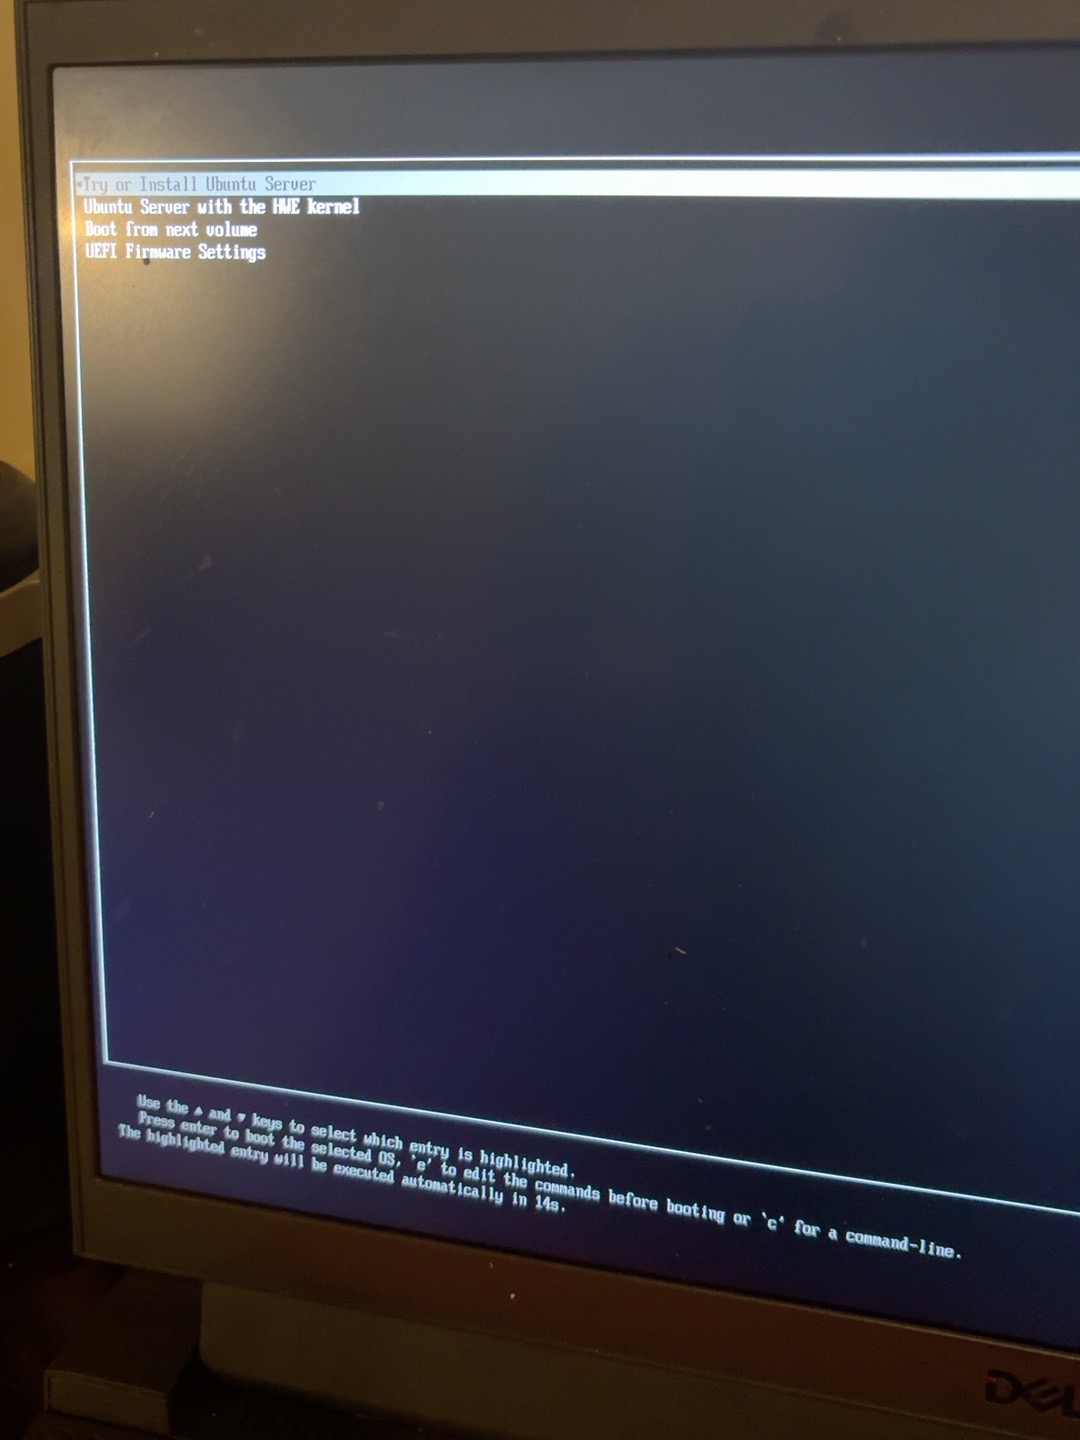
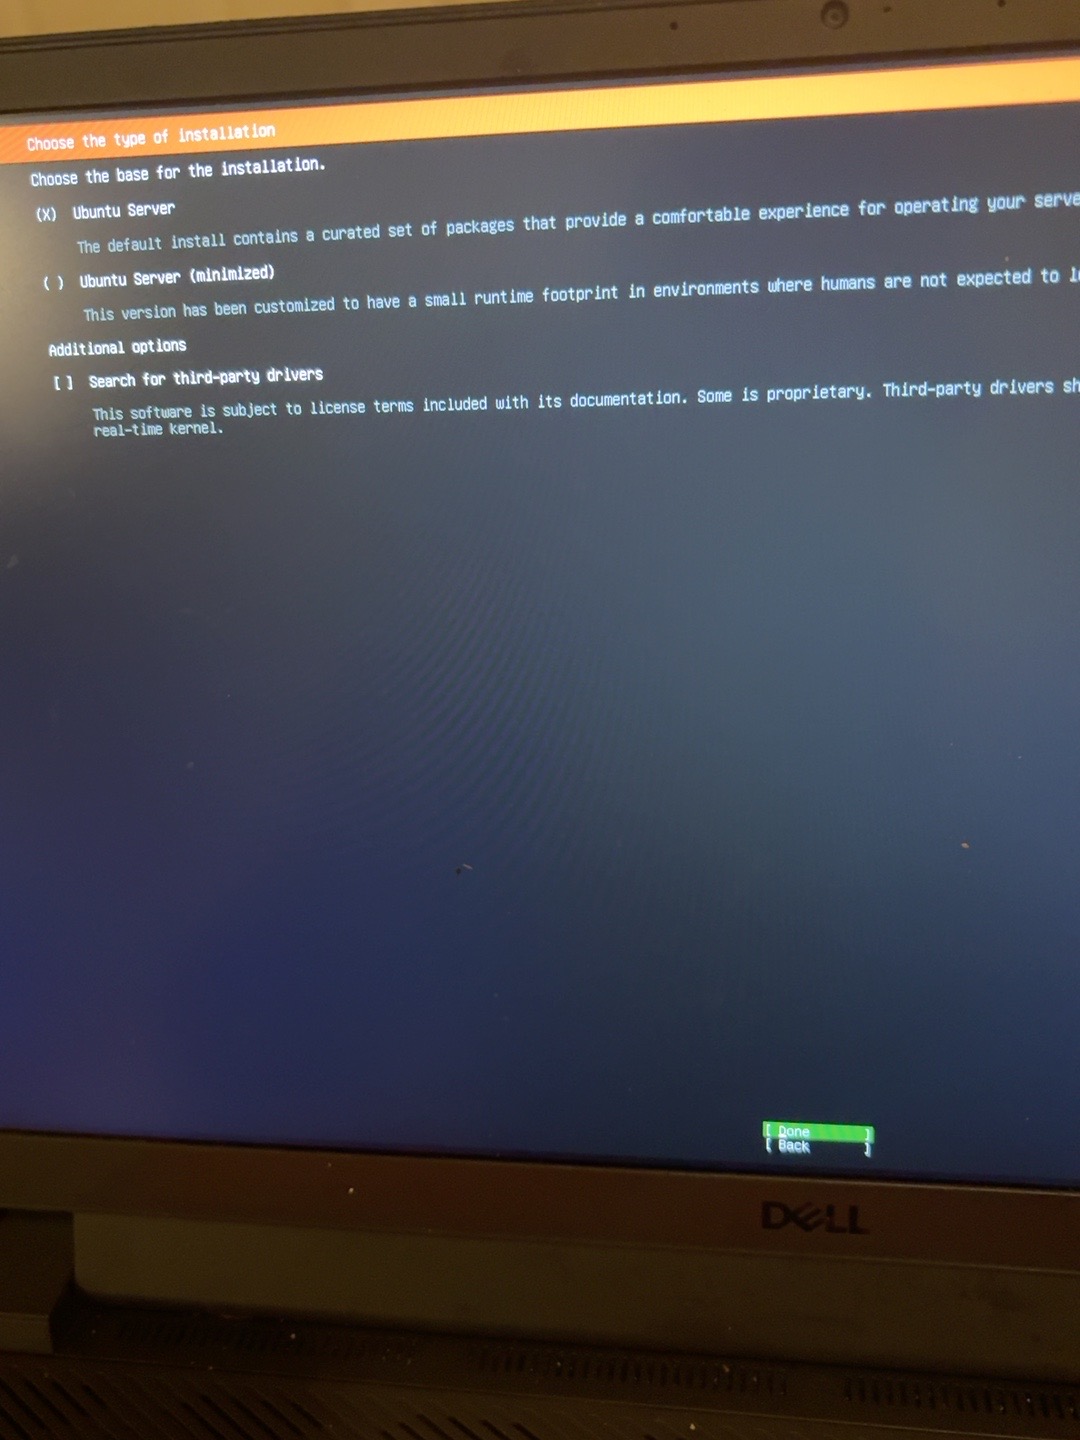
重启 Dell,在 Dell Logo 出现时连续按 F12,选择 UEFI 下的 SanDisk/USB Storage。语言选 English;安装类型使用普通 Ubuntu Server。
5. Wi‑Fi 与镜像源
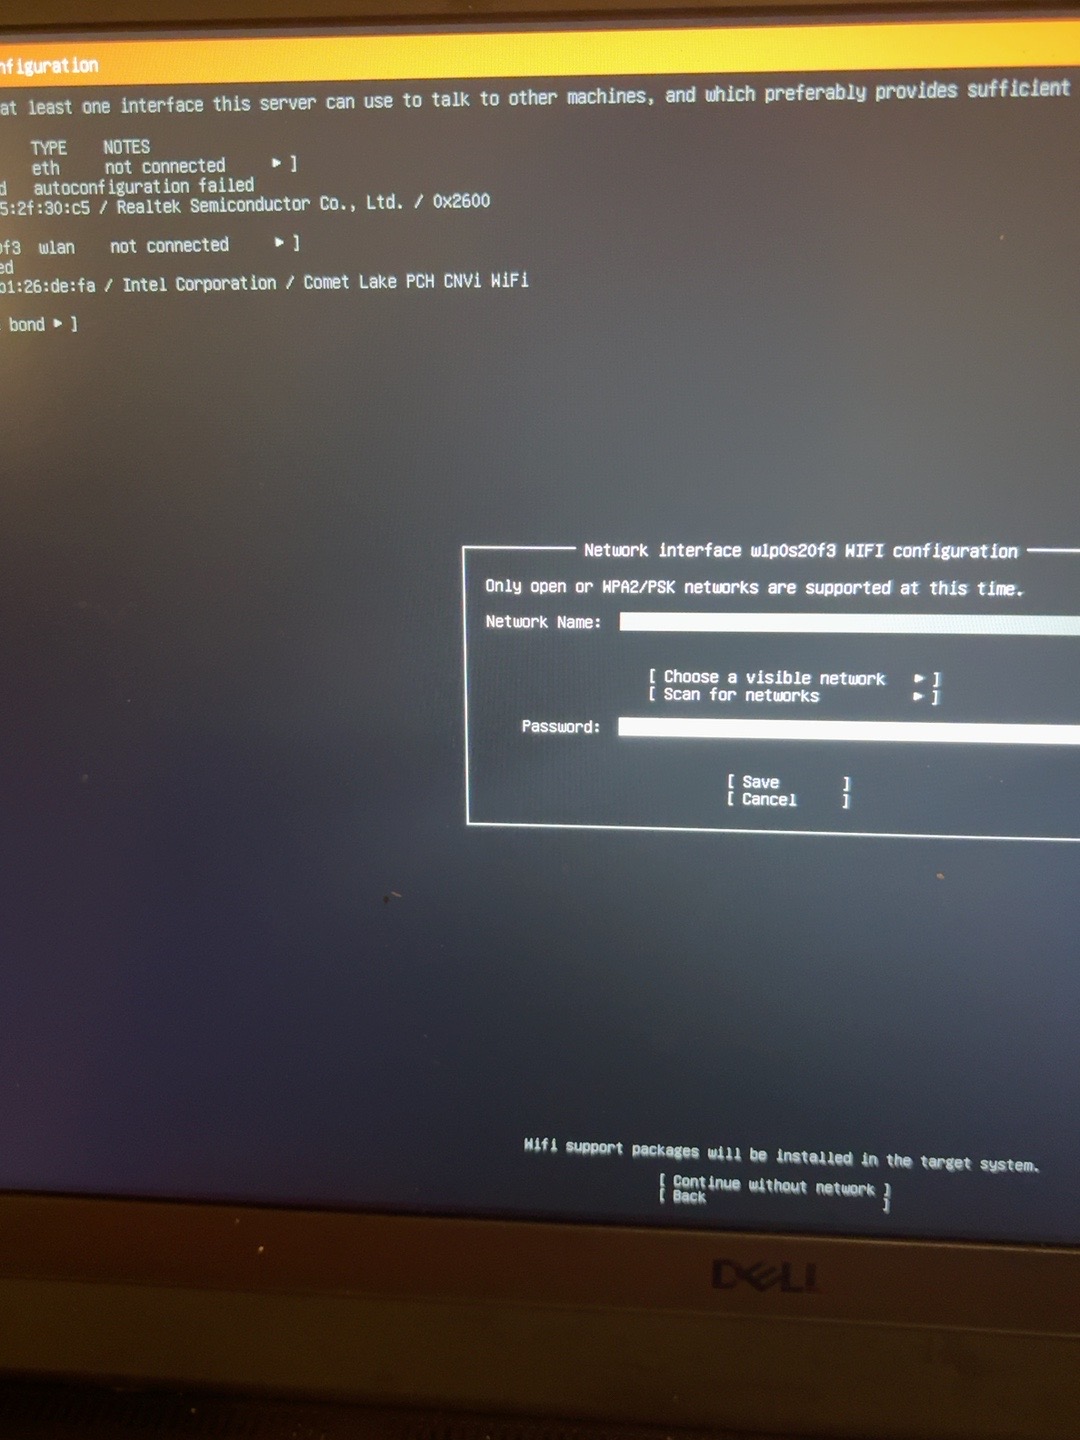
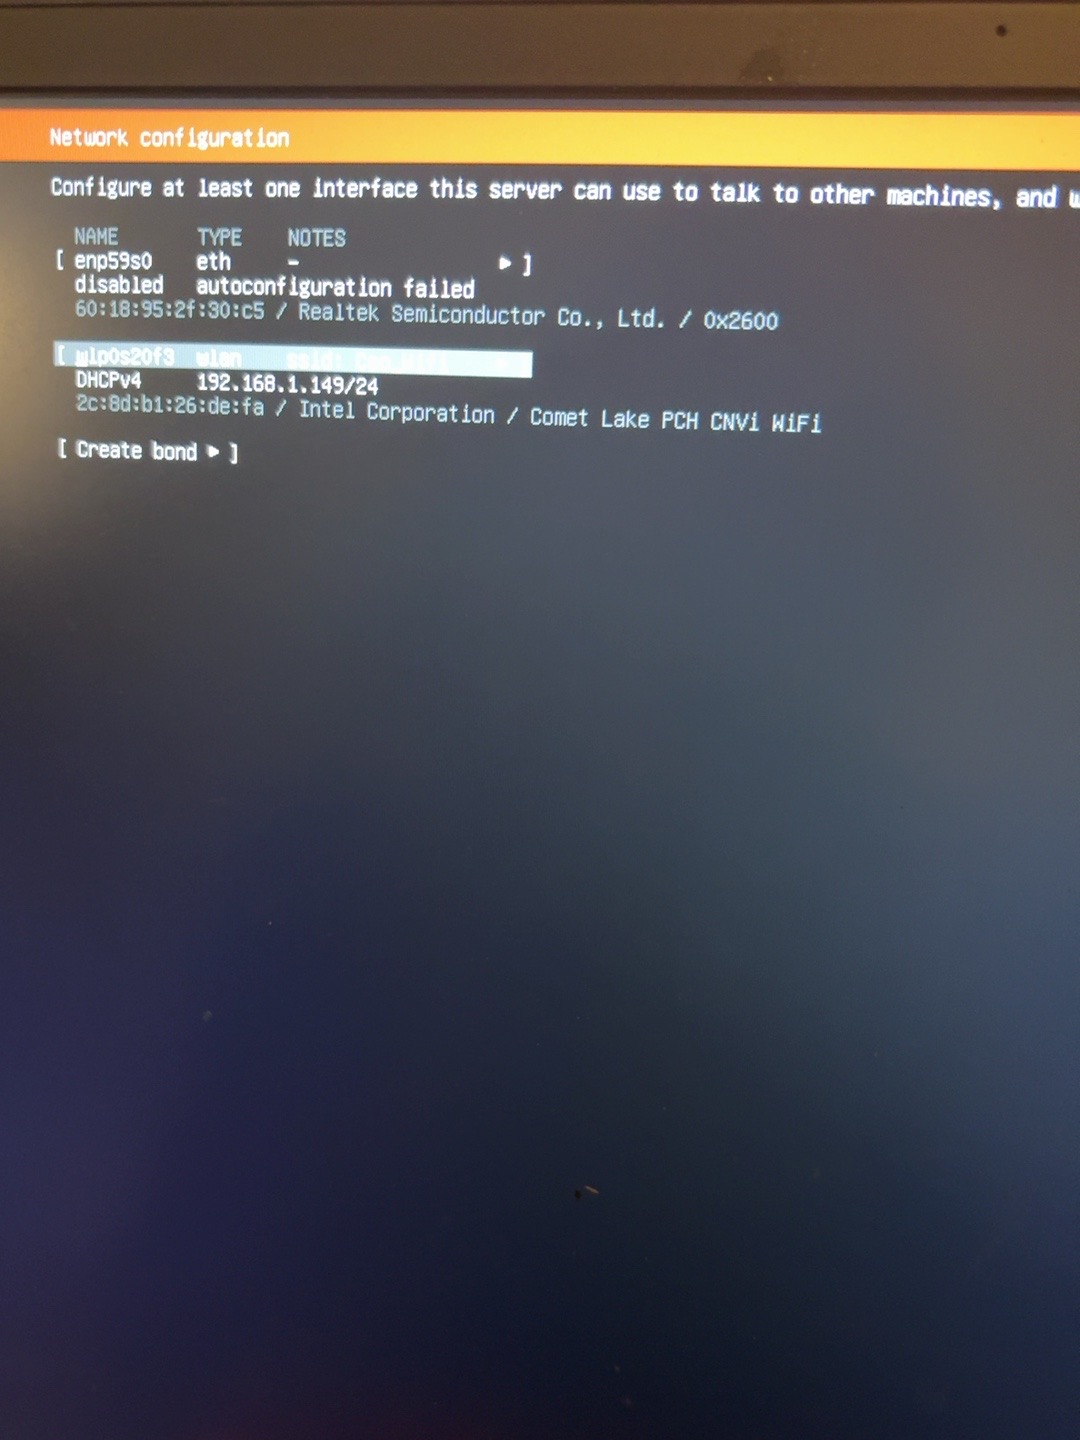
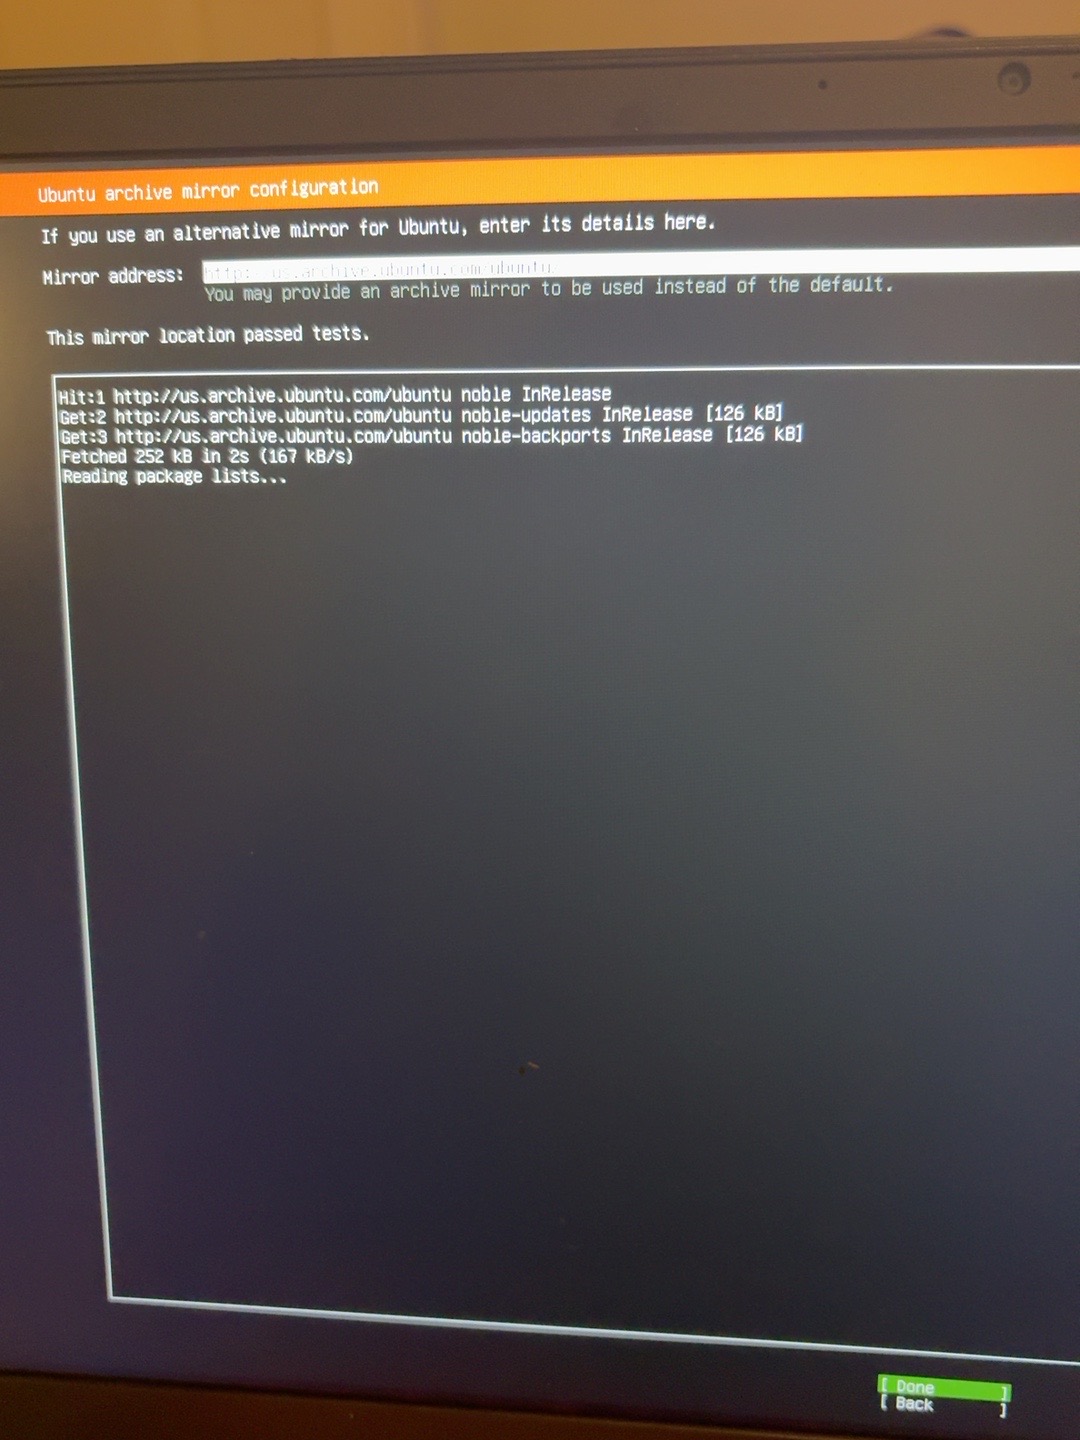
选择 Intel wlan 接口,扫描 Wi‑Fi 并输入密码。密码不要出现在截图中。镜像源测试通过即可继续。
6. 整盘 Ubuntu + LVM
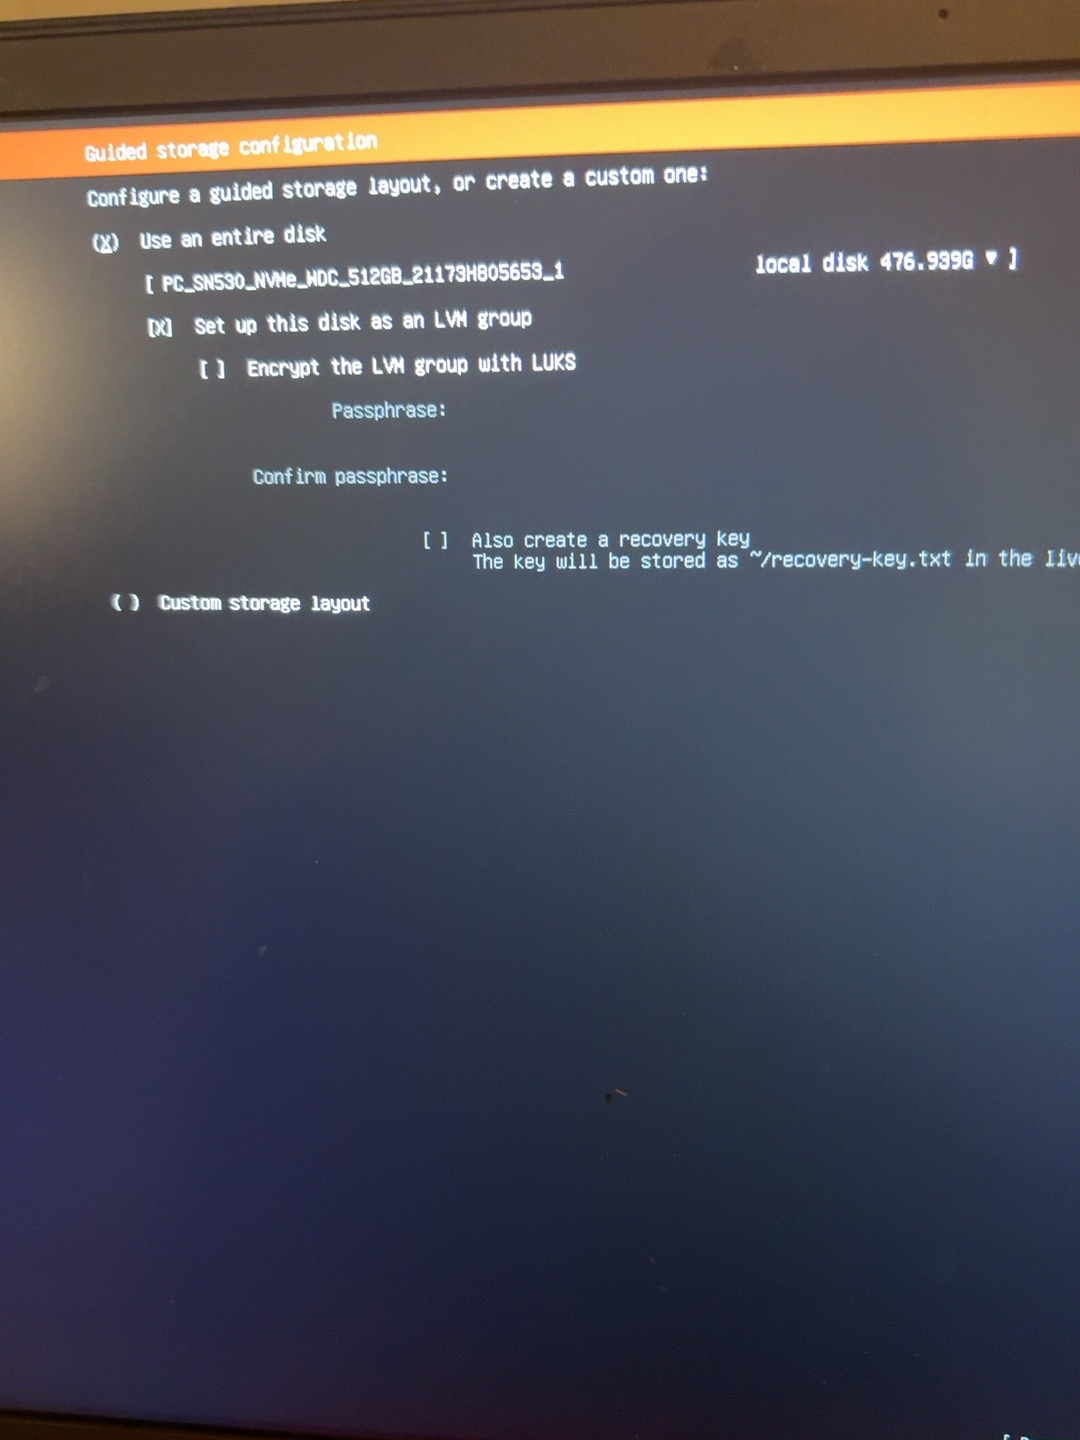
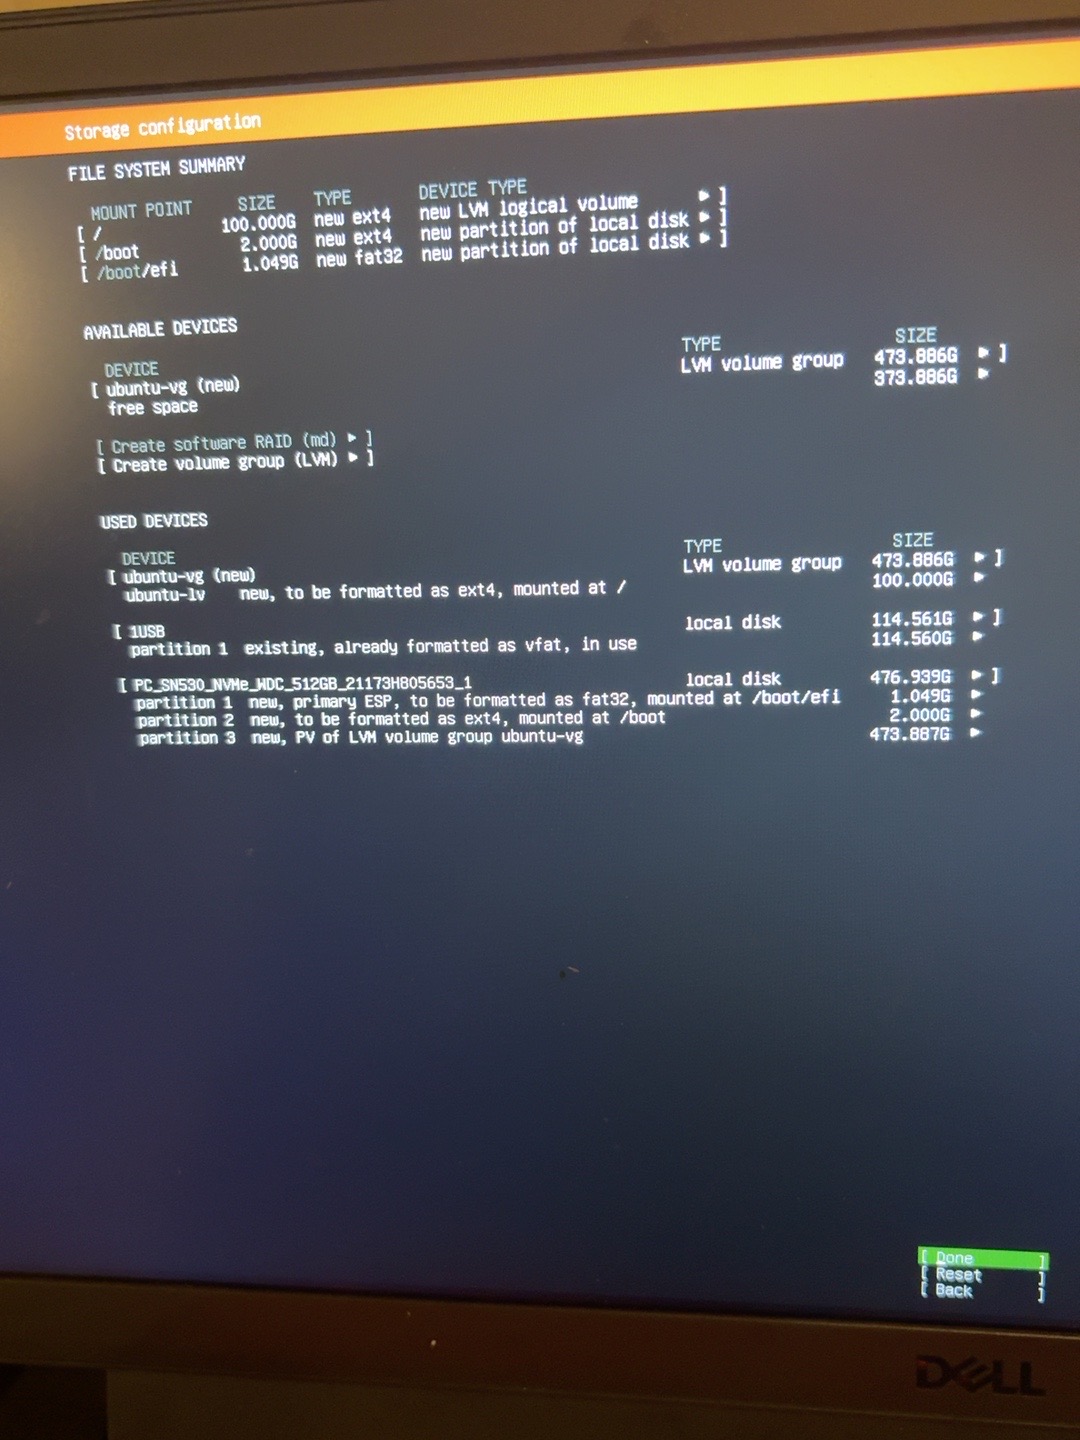
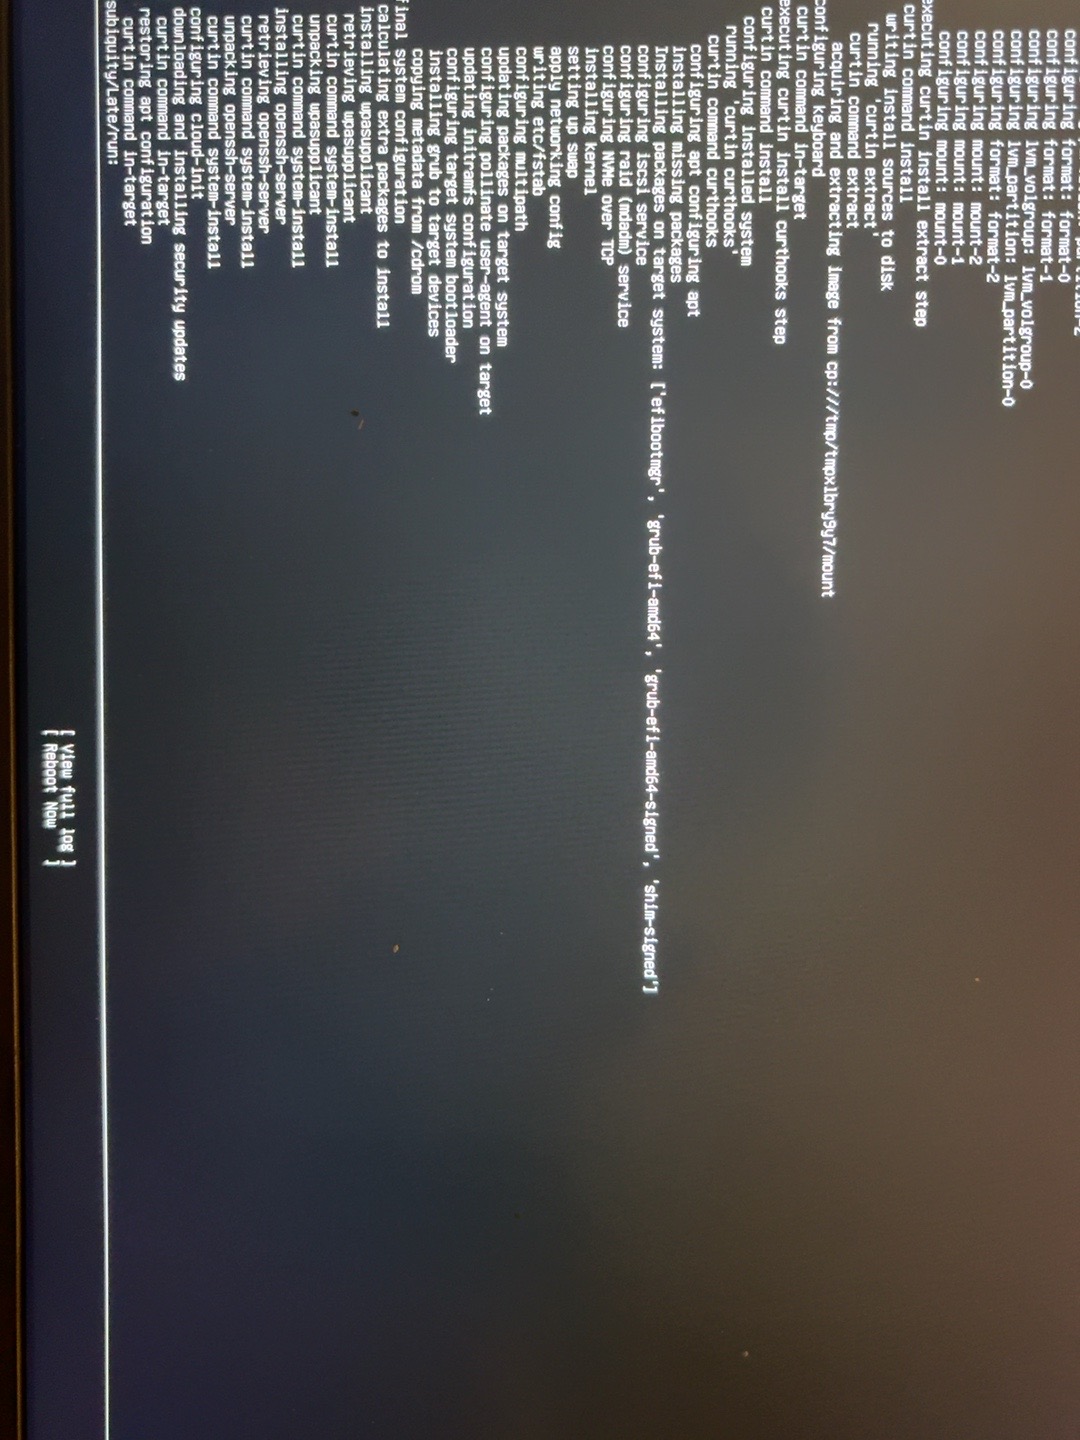
本案例不保留 Windows,选择 Use an entire disk,目标为内部 512GB PC SN530 NVMe。启用 LVM,不启用 LUKS。安装器默认创建约100GB根卷并保留大量VG空闲空间。
7. SSH 与安装收尾
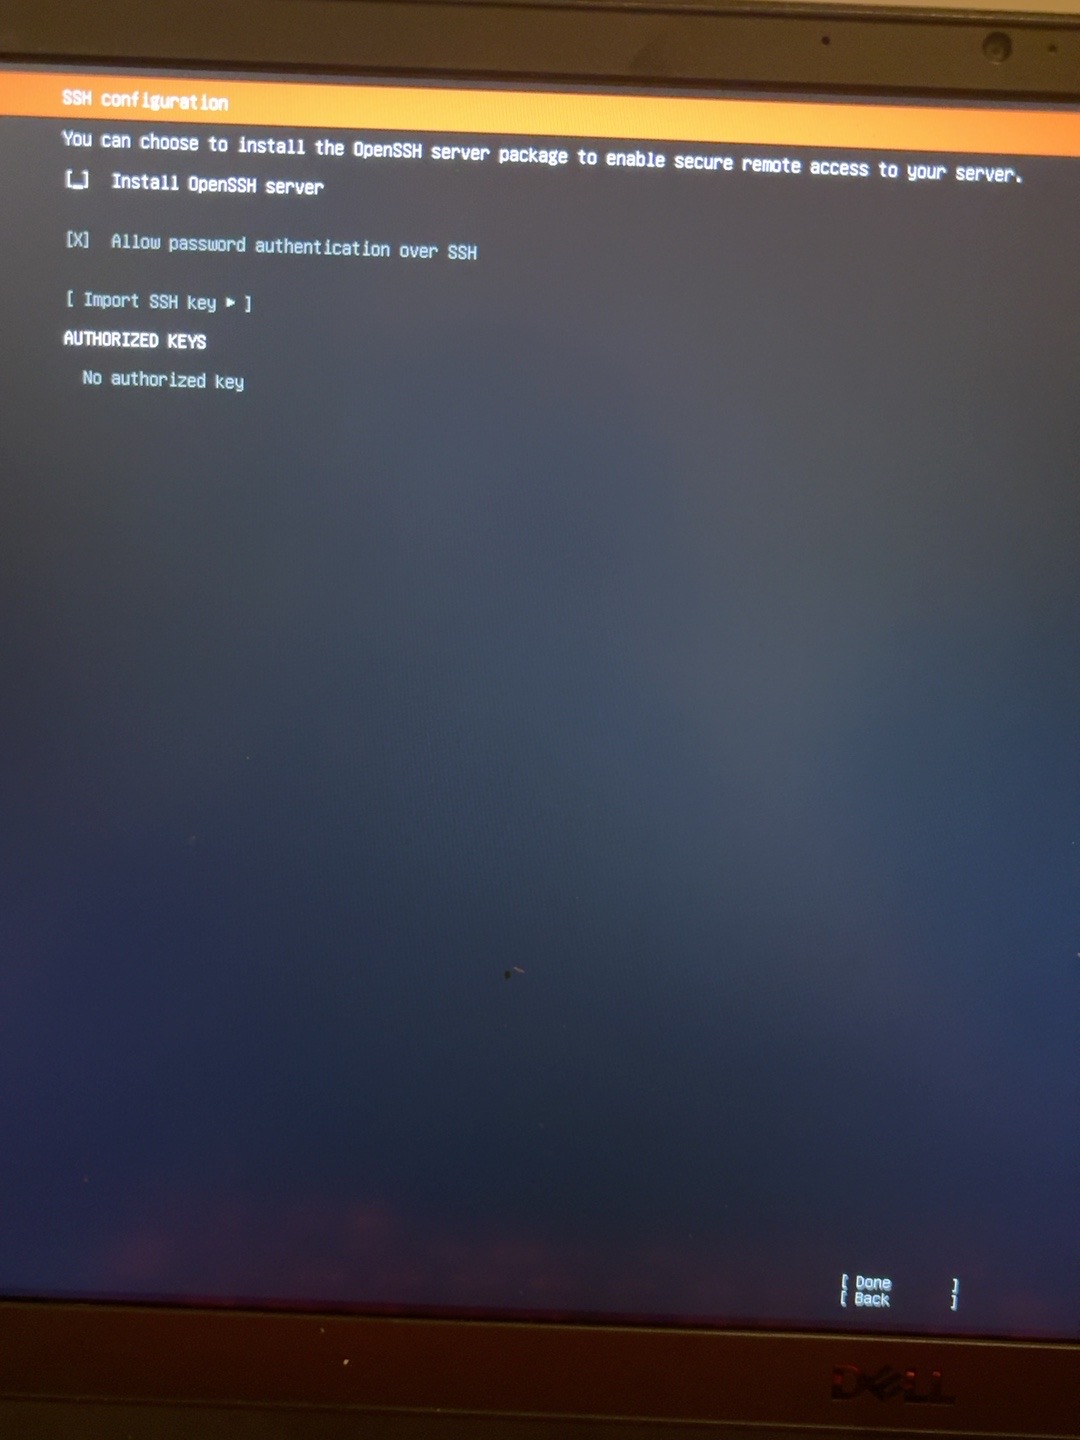
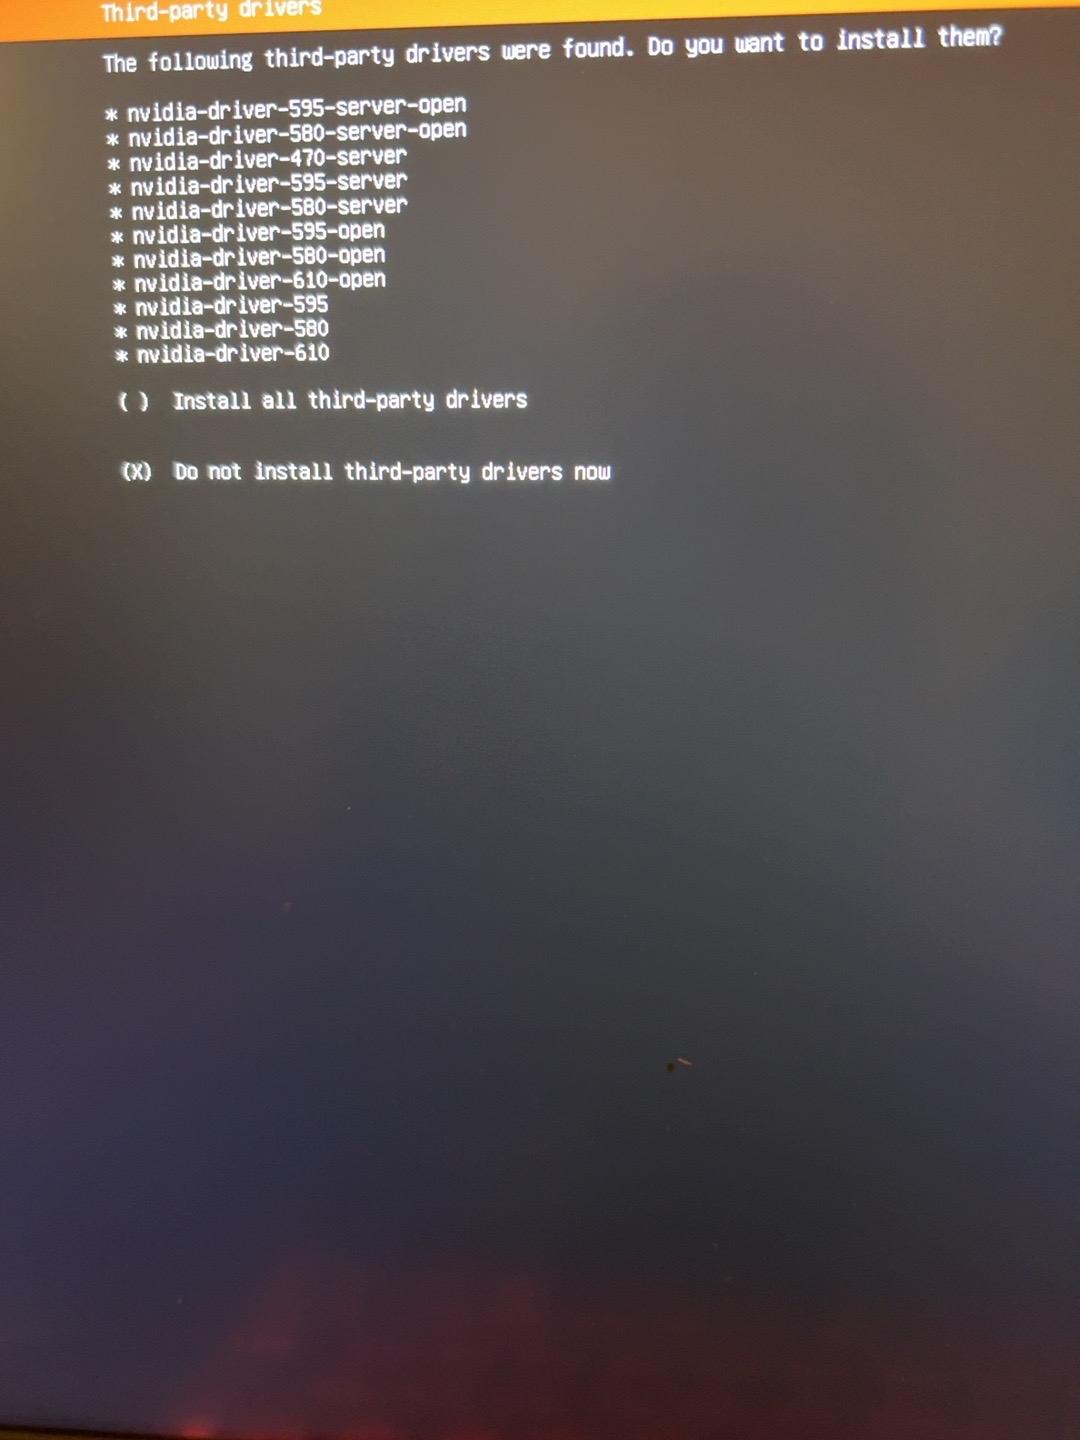
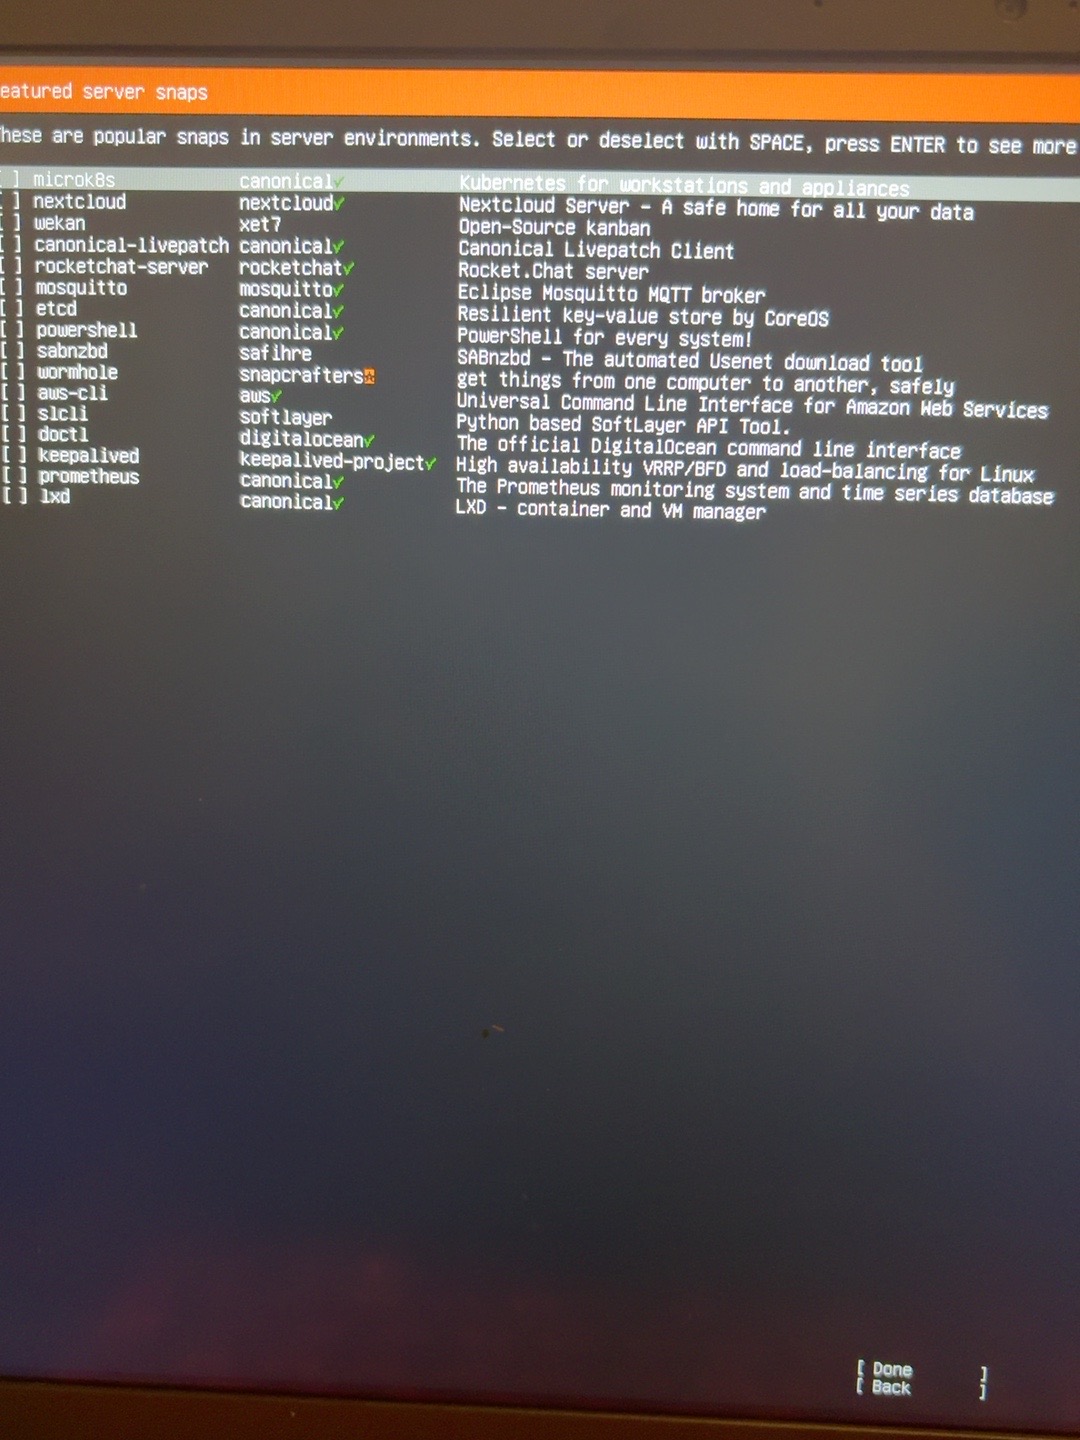
Ubuntu Pro 暂时跳过;勾选 Install OpenSSH server。第三方驱动不要一次安装多个 NVIDIA 版本;Featured Server Snaps 全部跳过。
8. Mac SSH Key 管理
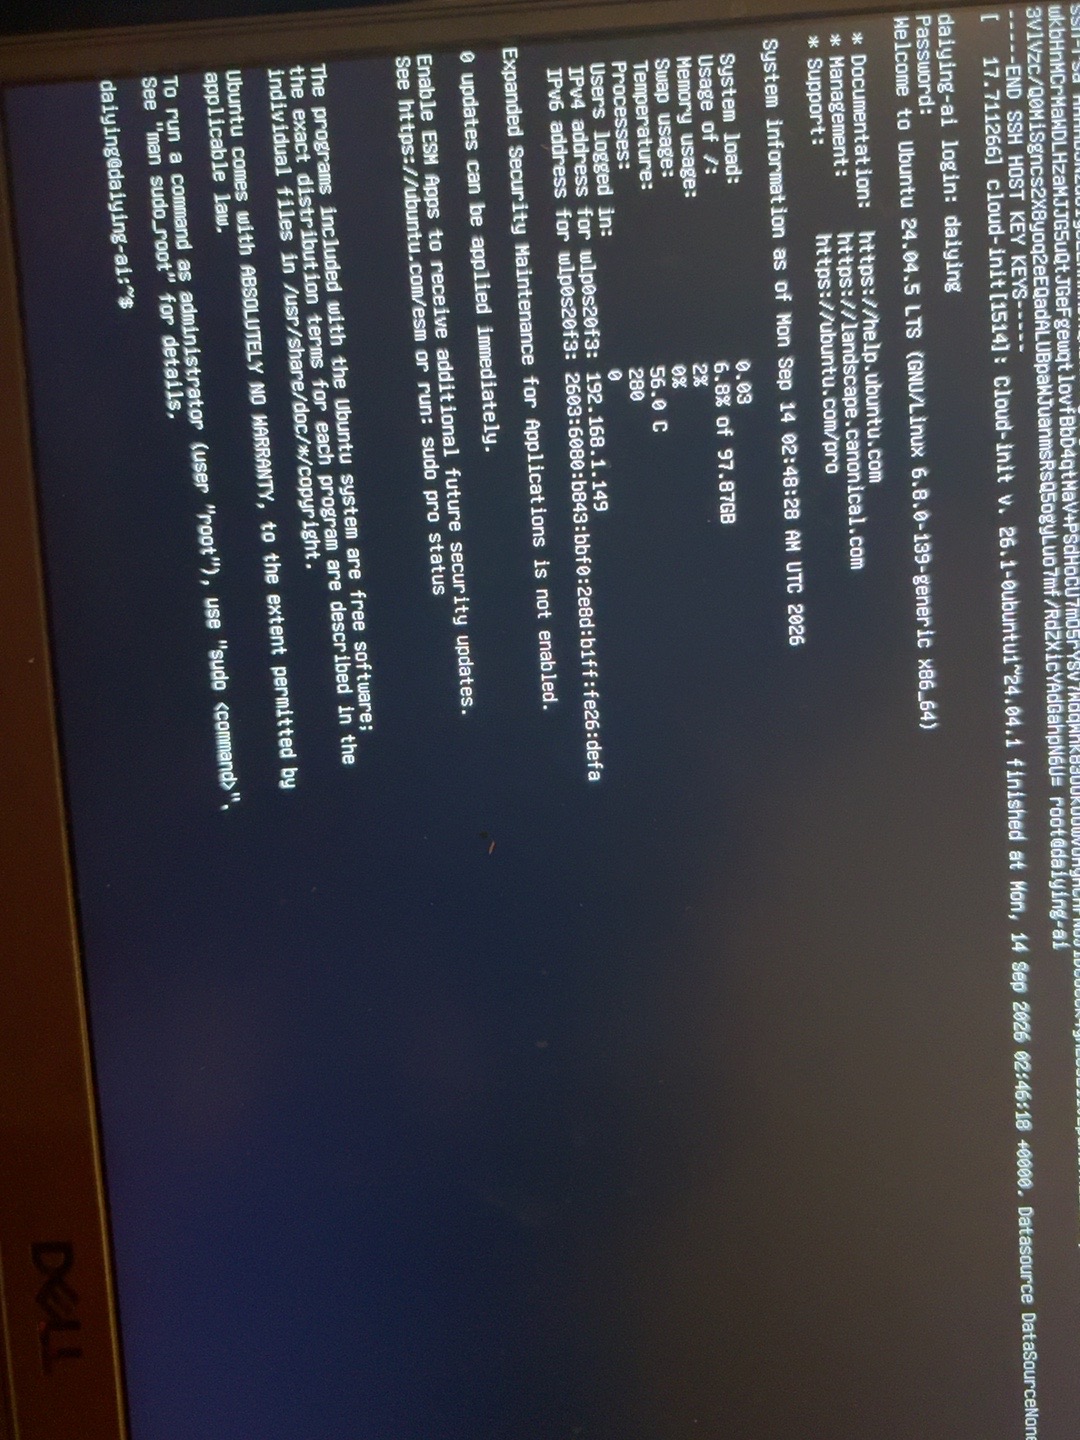
配置 Ed25519 SSH Key 后,Mac/Codex 可直接登录 Dell。保留 sudo 密码,不开启永久 passwordless sudo。
Host daiying-ai
    HostName 192.168.1.149
    User daiying
    IdentityFile <实际私钥路径>

ssh daiying-ai
9. NVIDIA、Ollama 与模型
安装并验证单一合适 NVIDIA 驱动。最终验证环境 Driver 595.84。安装 Ollama 并保持 localhost。模型使用 qwen2.5:7b,Embedding 使用 bge-m3。
nvidia-smi
ollama list
ollama ps
qwen2.5:7b 推理时约使用4499–4681MiB / 6144MiB显存,并由GPU承担模型处理。
10. 单独创建 200GB AI 数据卷
从 ubuntu-vg 剩余空间创建 200GB LV,挂载到 /srv/daiying-ai,并保留约173.89GB VG空闲。随后把 Ollama 模型迁移到 /srv/daiying-ai/models/ollama。
sudo lvcreate -L 200G -n daiying-ai-lv ubuntu-vg
sudo mkfs.ext4 -L DAIYING_AI /dev/ubuntu-vg/daiying-ai-lv
sudo mkdir -p /srv/daiying-ai
sudo mount -a
sudo mkdir -p /srv/daiying-ai/{models,knowledge,indexes,backups,logs}
11. Knowledge Base V1:轻量 RAG
采用文件文档 + bge-m3 embedding + SQLite 索引 + cosine similarity + qwen2.5:7b。没有进行微调。
默认回答排除 deprecated/wrong;历史错误只能解释“为什么错”,不能作为当前推荐。
12. 导入真实 Daiying CMS 源码
真实语料阶段盘点325个候选文件、3042个PHP语义符号。PHP按 namespace、class、interface、trait、enum、function、method 等语义边界抽取,并记录路径、行号、签名和commit/version。未被真实源码或官方文档证实的API禁止编造。
13. Git 增量知识更新
CMS每次更新不必重新扫描整个仓库。增量脚本读取 commit diff 和未跟踪文件;已提交内容默认 verified,未提交 working tree 内容标记 experimental。Phase 7 后知识库达到45 documents / 760 chunks。
14. 合盖服务器模式
通过 systemd-logind 与 sleep 配置禁止 suspend/hibernate。实际合盖后从Mac连续6轮验证:ping 0%丢包、SSH均可登录、Wi‑Fi/Ollama/KB API持续在线,无 suspend/hibernate/reboot。
[Login]
HandleLidSwitch=ignore
HandleLidSwitchExternalPower=ignore
HandleLidSwitchDocked=ignore
IdleAction=ignore

[Sleep]
AllowSuspend=no
AllowHibernation=no
AllowHybridSleep=no
AllowSuspendThenHibernate=no
15. 安全公网架构
Ollama 11434 和 KB API 18080 始终保持 127.0.0.1。公网只允许进入 Secure Gateway 19090。
16. Cloudflare DNS 与 Tunnel
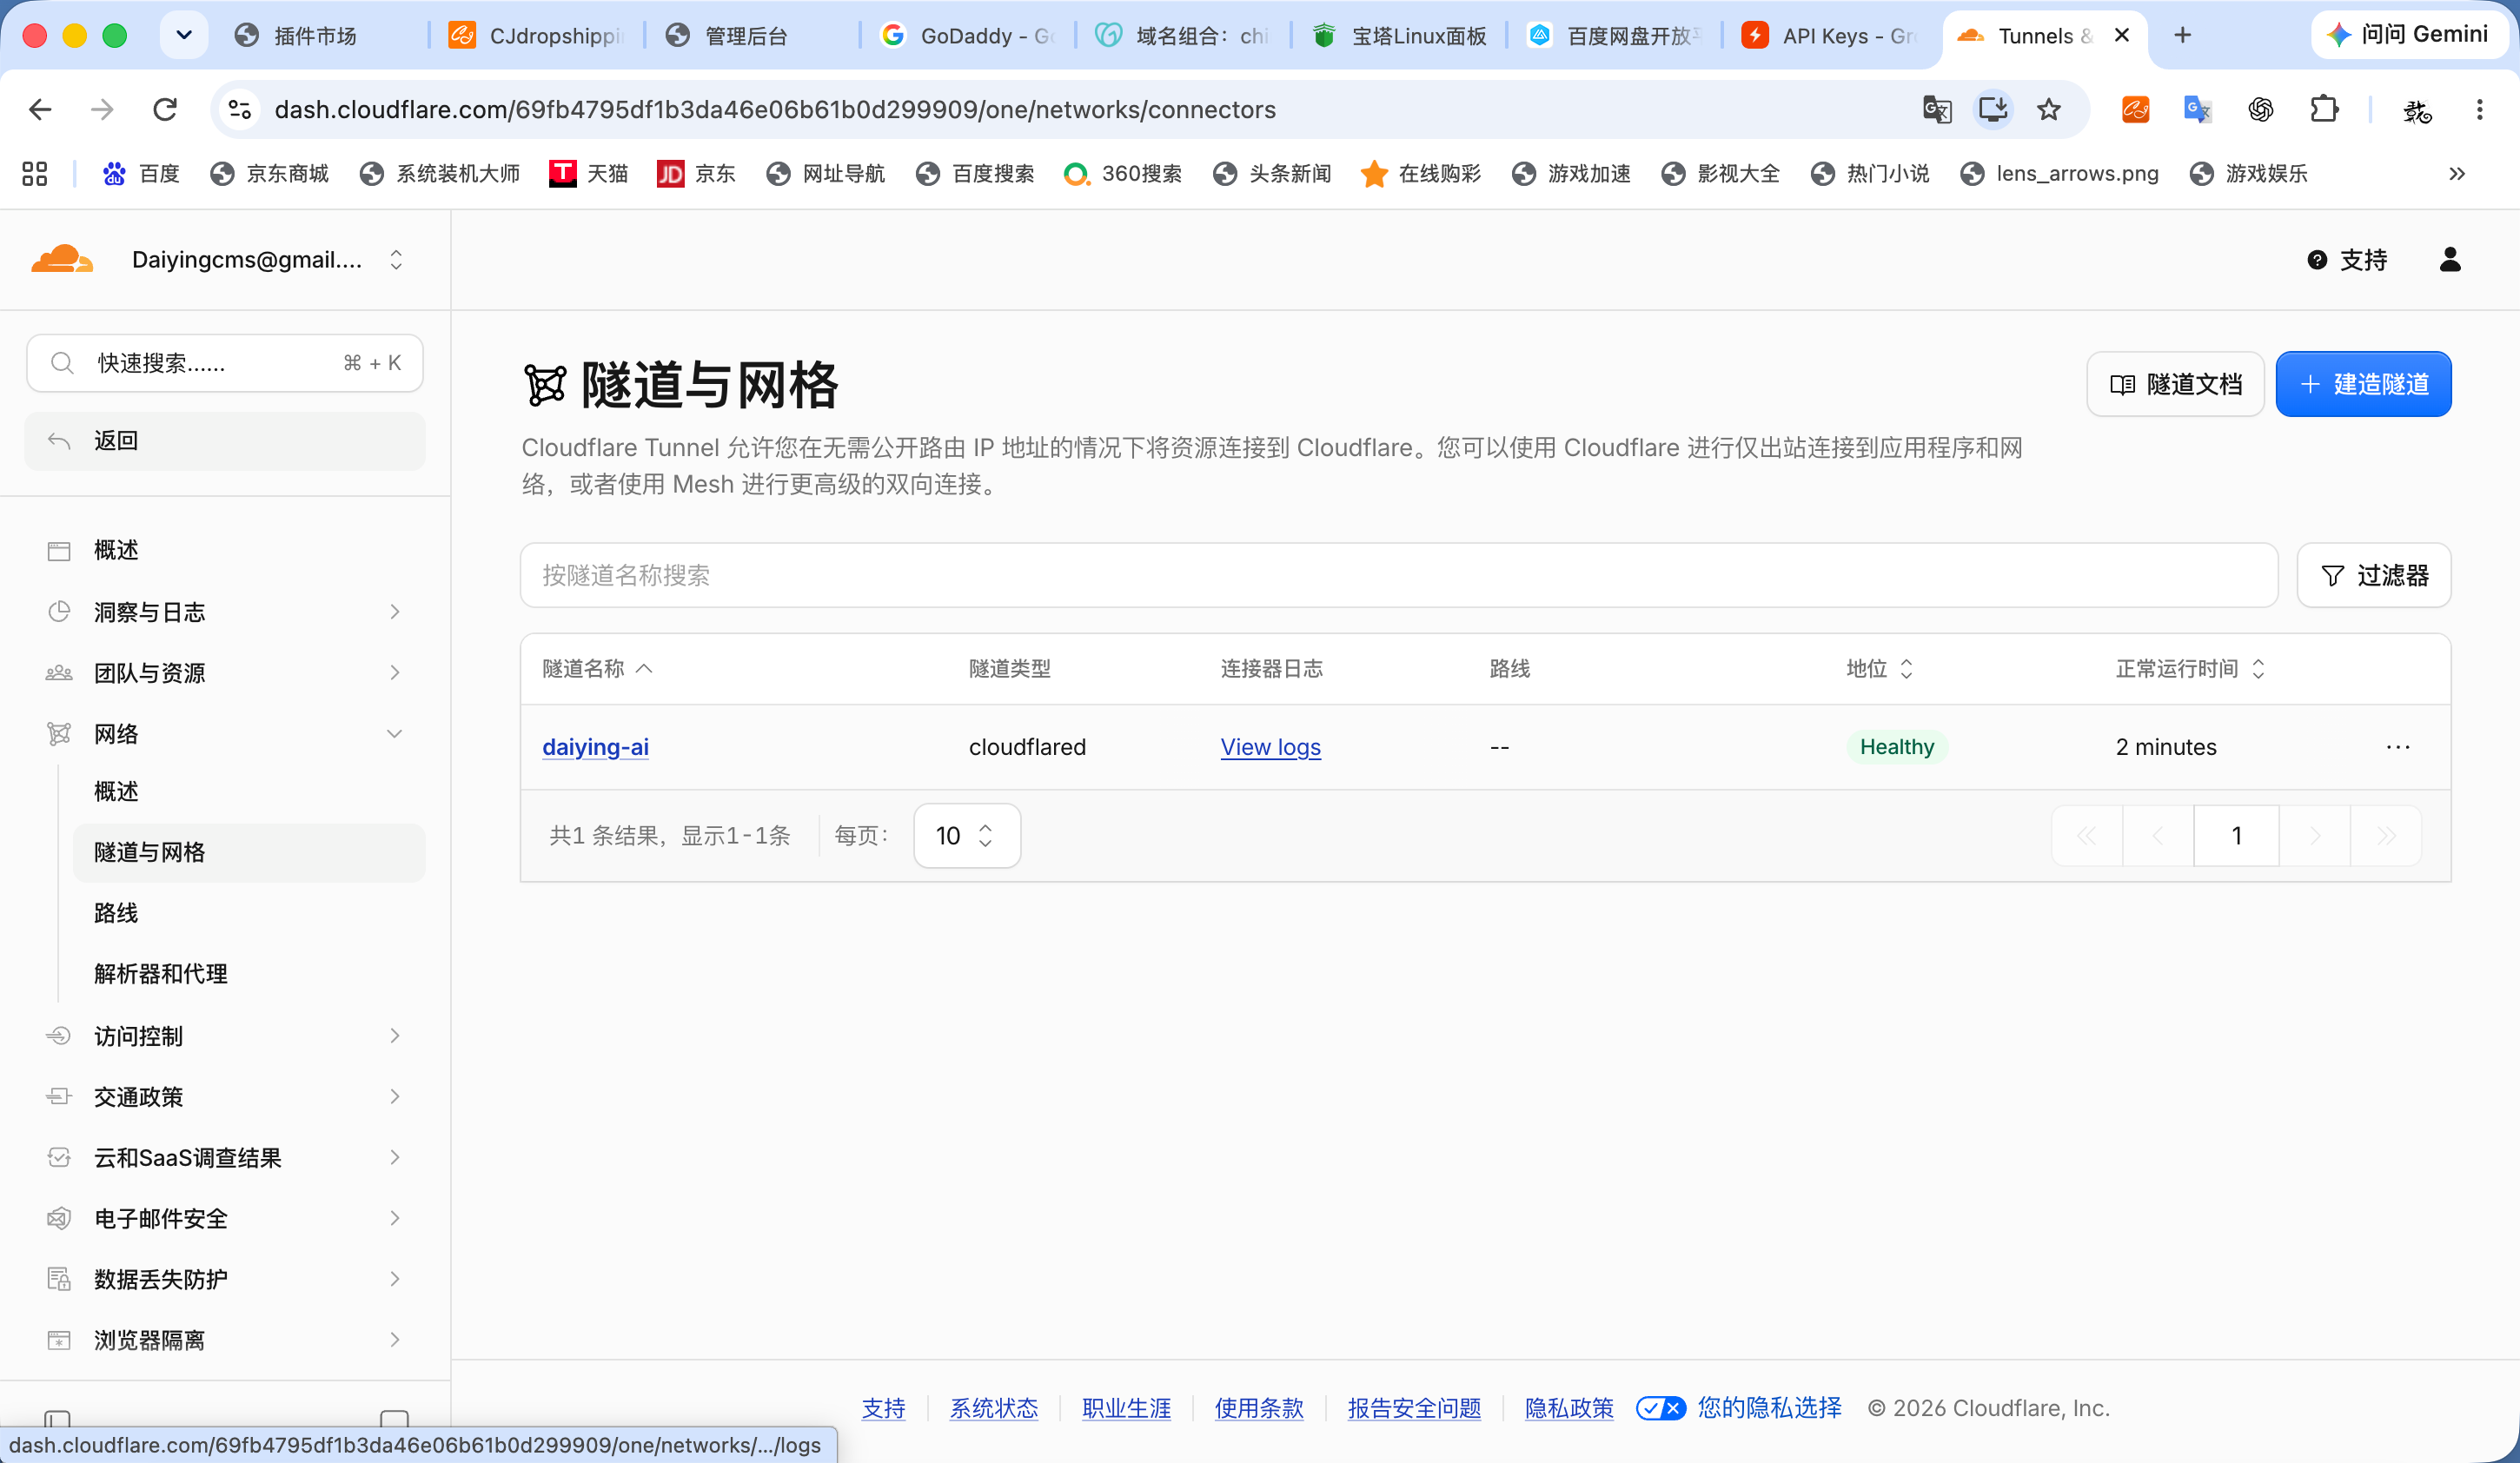
为避免影响正式 daiyingcms.com,本次使用 chinesedepartmentstore.com 作为测试域名。域名仍在 GoDaddy 注册,但 Nameserver 切换到 Cloudflare。创建 cloudflared Tunnel:daiying-ai。
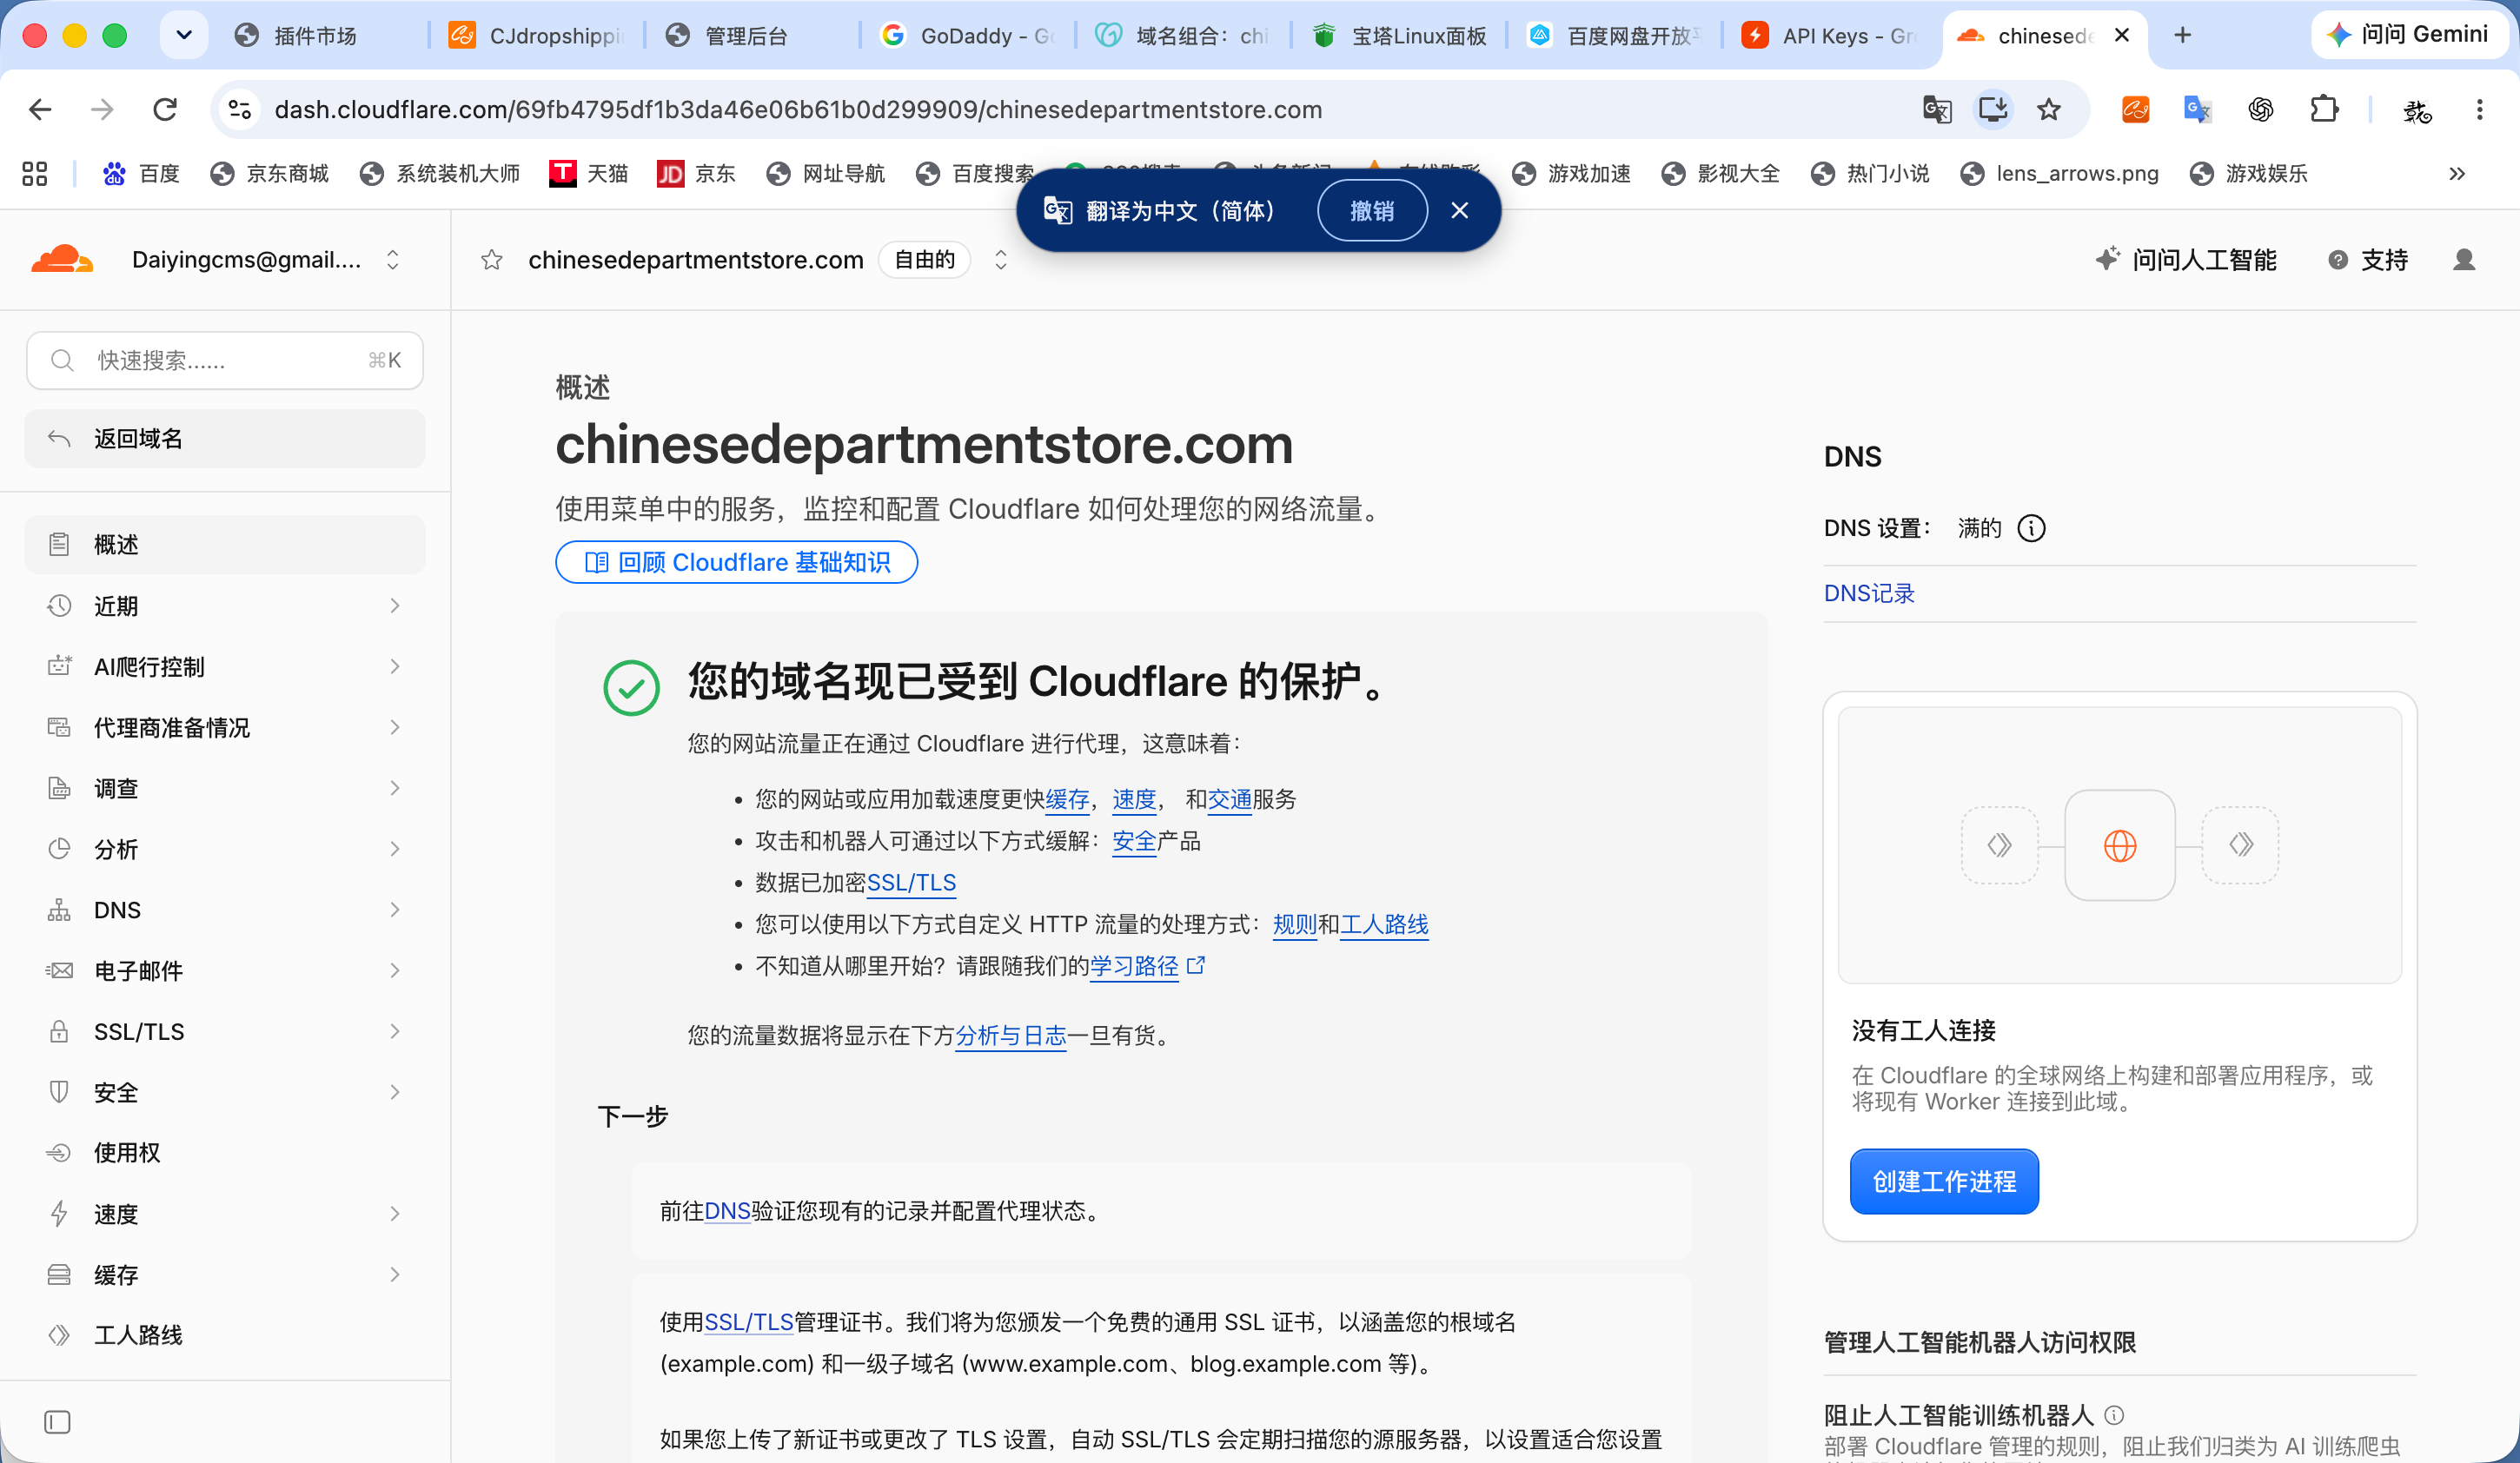
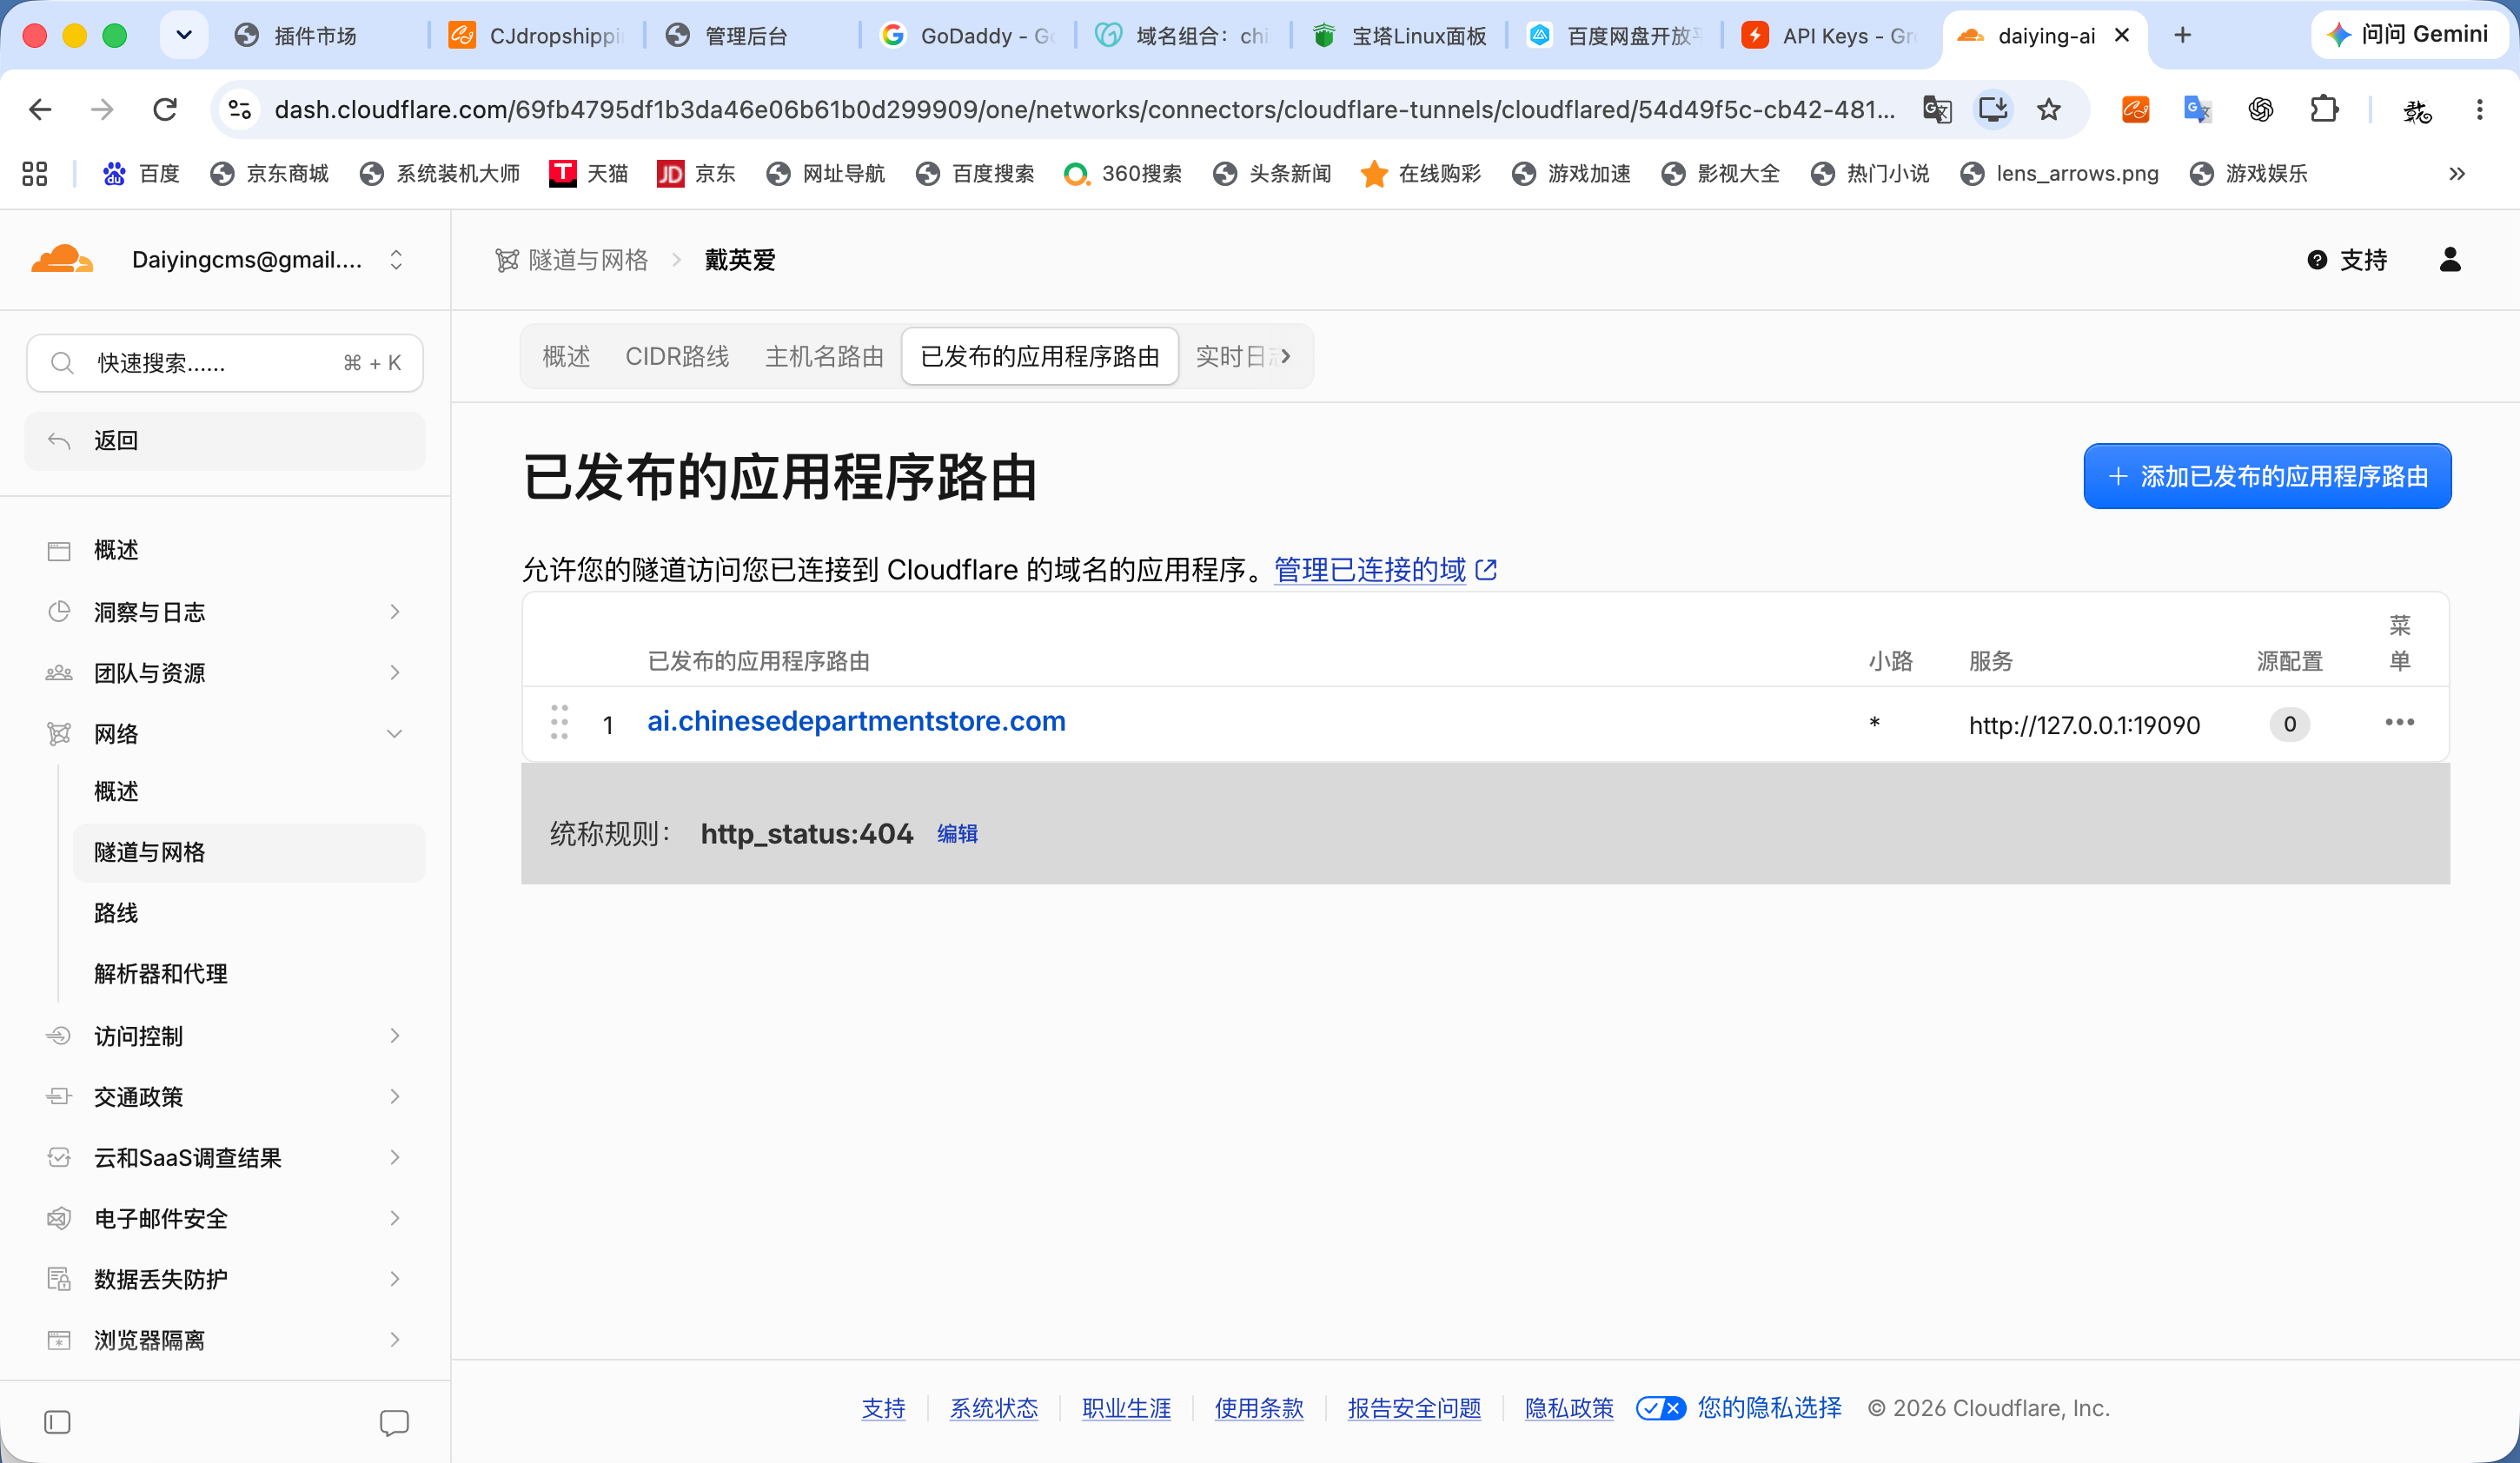
发布应用程序路由:ai.chinesedepartmentstore.com → HTTP → 127.0.0.1:19090。
17. Secure Gateway V1
Gateway 提供 Bearer Token 认证、每Token限流、请求体大小限制、超时、JSON校验和审计日志。OpenAI-compatible 兼容端点包括 /v1/models 和 /v1/chat/completions。
安全验证显示:被拒绝请求前后 GPU utilization 均为0%;只有合法认证请求进入推理时 GPU 才达到100%。KB API、Gateway、cloudflared 均由 systemd 管理并开机自动启动。
18. Daiying CMS Provider 兼容
Daiying CMS 1.2.57 使用 OpenAI-compatible 客户端,因此 Gateway 增加 GET /v1/models 与 POST /v1/chat/completions,并继续要求 Bearer Token 与限流。
19. 真实 CMS 后台接入成功
最终在非生产测试站 book.daixingwei.cn 后台保存 Daiying Local AI Provider,API Key 进入 CMS secret 字段。真实后台连接测试成功。
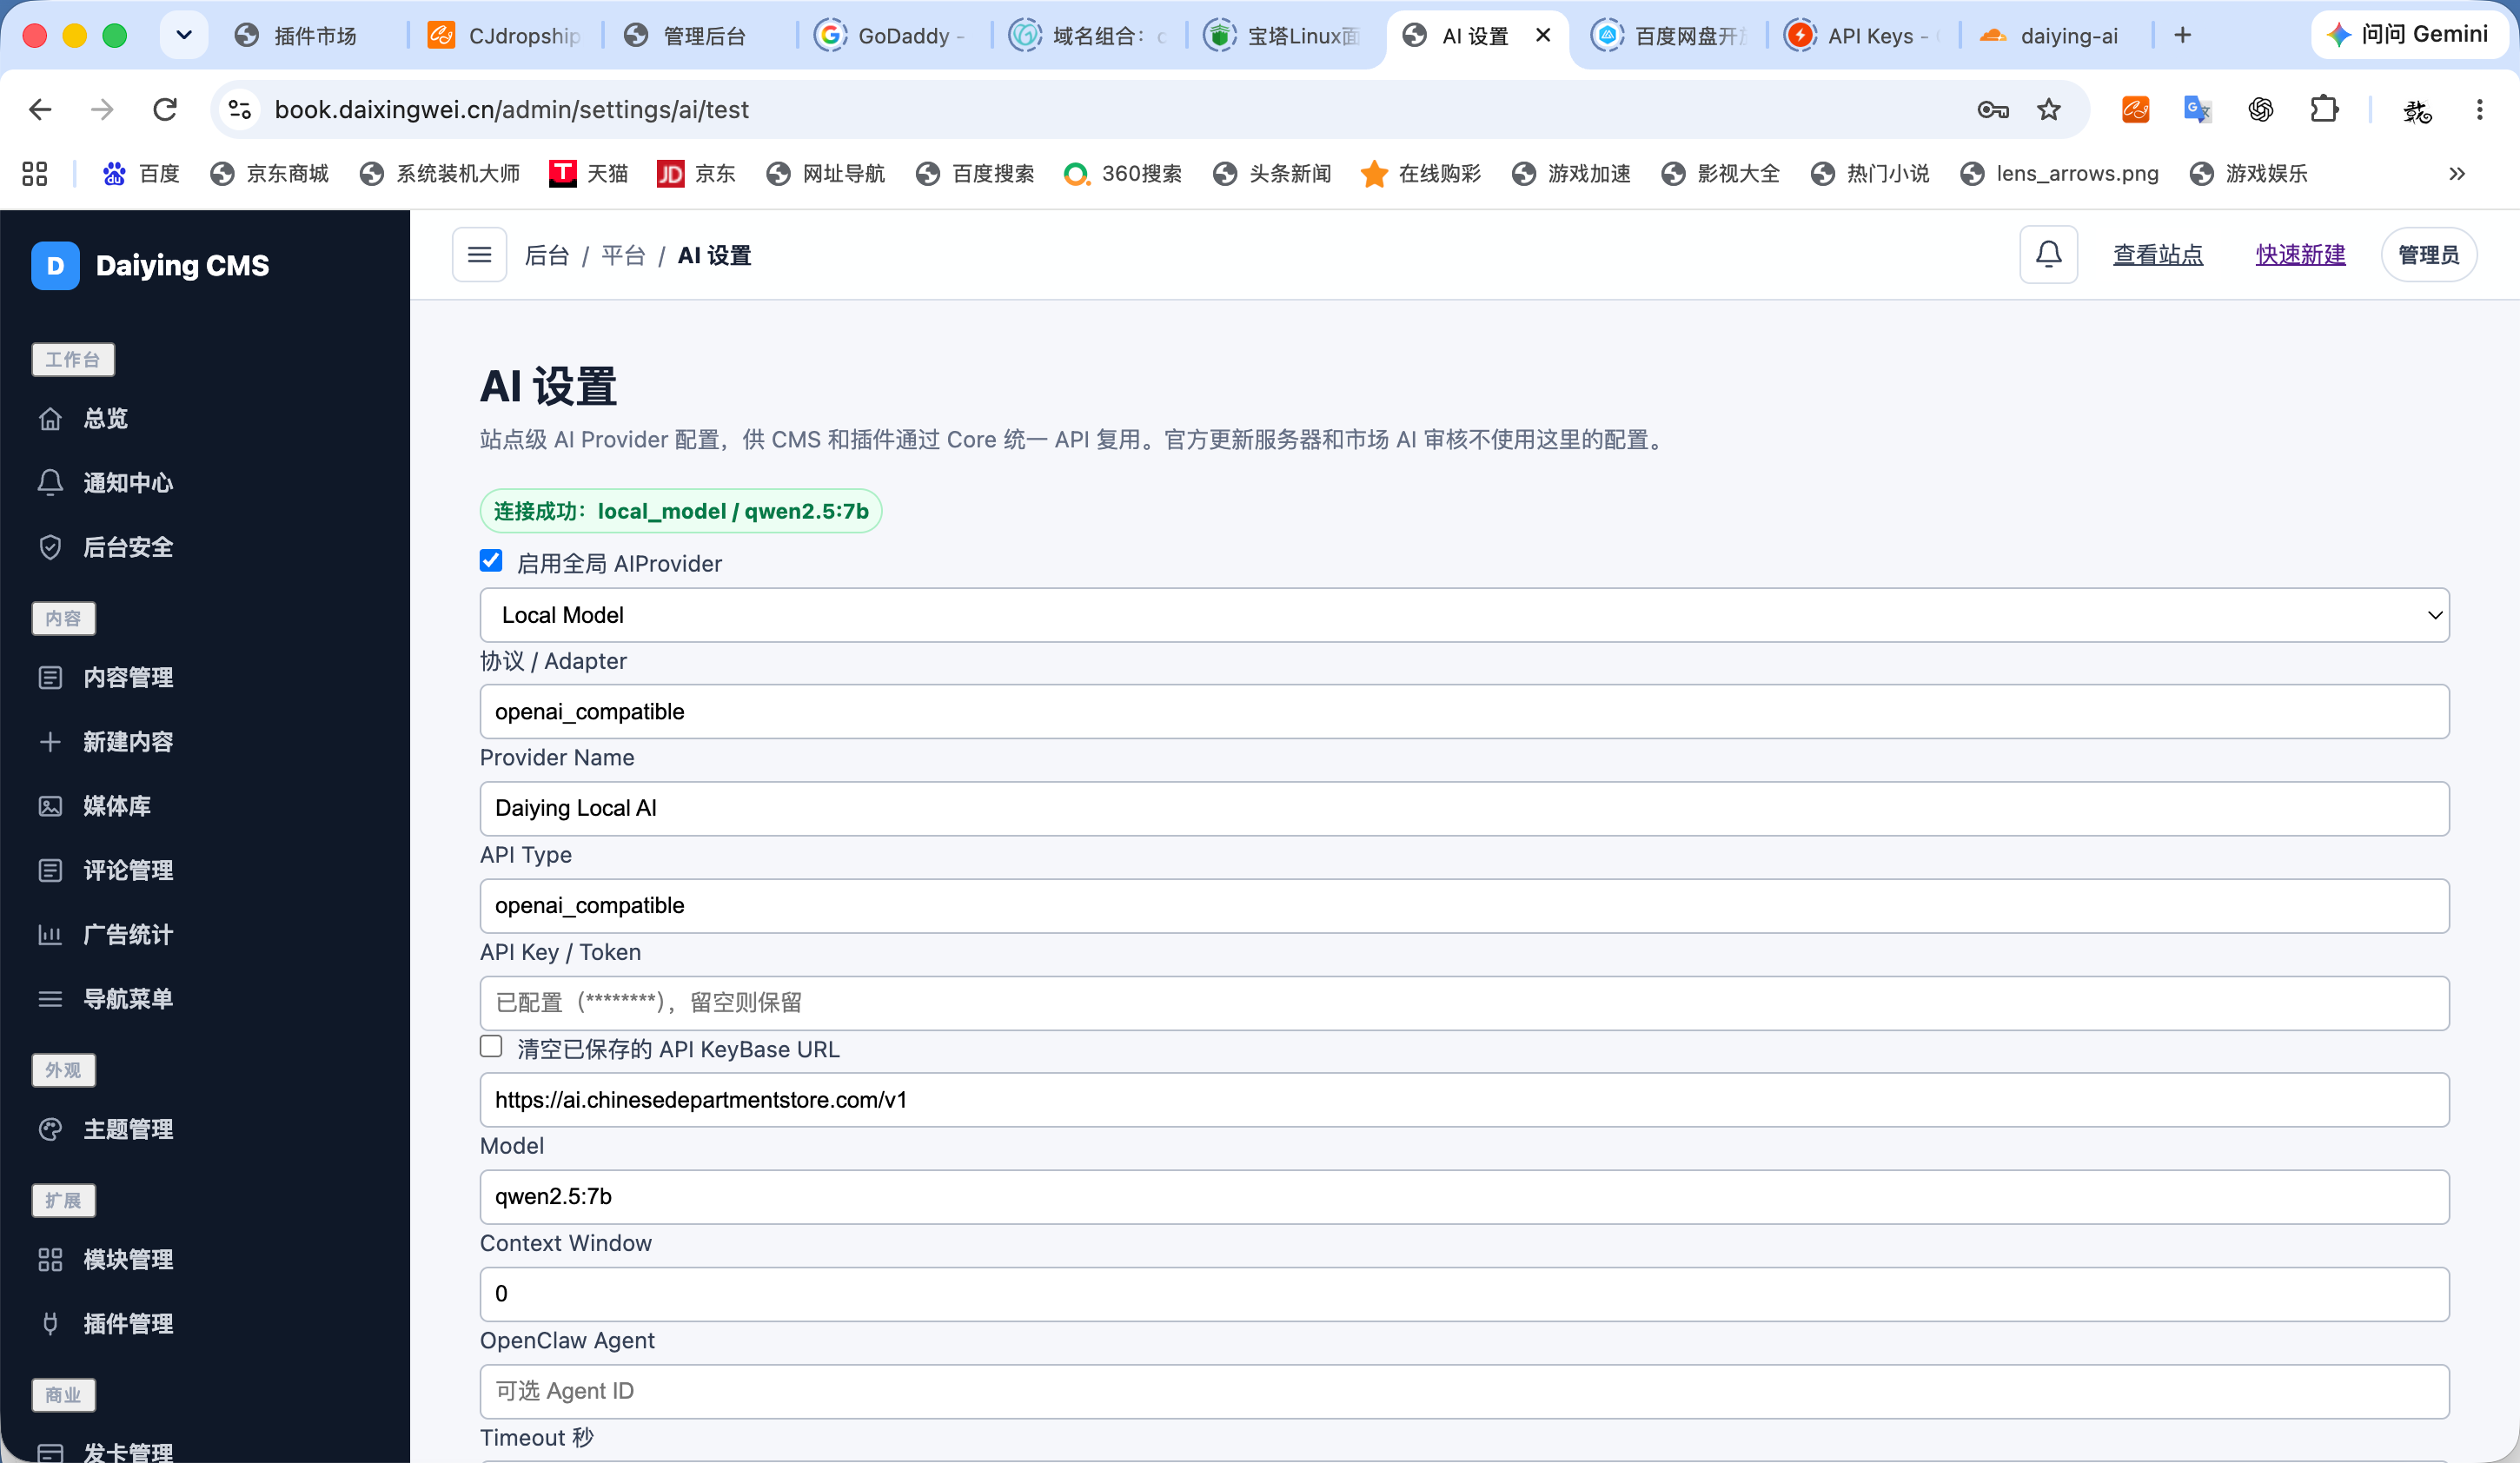
真实请求链路:book.daixingwei.cn → Cloudflare Tunnel → Gateway /v1/chat/completions → KB API → Ollama qwen2.5:7b → RTX 3060 → CMS后台。Gateway 审计记录显示真实后台请求 HTTP 200,约10.584秒。
20. 最终测试结果
Provider层7项回归全部通过。
Phase 9 最终状态:LIVE TEST SITE INTEGRATION PASSED。生产 CMS 默认 AI 仍未启用。
21. 这套方案适合谁
适合有闲置 NVIDIA 笔记本、希望降低云模型Token成本、需要私有知识库、并且并发量不高的个人开发者或小型团队。当前 Dell G15 更适合单用户/低并发,不适合大量公网用户同时推理。
22. 后续维护建议
第一阶段建议冻结,不急着安装 OpenClaw 或更大模型。继续让 book.daixingwei.cn 作为唯一真实测试站,观察稳定性、平均耗时、GPU温度、错误率与Gateway日志。CMS源码更新时使用Git增量知识流程;Token应定期轮换或撤销;公网流量增长后再考虑Cloudflare WAF/IP/国家限制和更强硬件。
附录 A:关键目录
/srv/daiying-ai/models
/srv/daiying-ai/knowledge
/srv/daiying-ai/indexes
/srv/daiying-ai/backups
/srv/daiying-ai/logs
附录 B:本文依据的实测报告
Phase 4: Storage And Knowledge Base Foundation
Phase 5: Daiying CMS Knowledge Import And Local HTTP API
Phase 6: Real Daiying CMS Corpus
Phase 7: CMS Git Incremental Corpus
Lid-Closed Server Runtime Report
Phase 8: Secure Gateway
Phase 9: CMS Provider Integration(含 Live Handoff)
评论
0 条还没有评论。